Carburetor Vent Line Correction

Walt a fellow RV-12 owner showed me this great upgrade.

Bing 64 carburetors used on my RV-12 with the 912ULS engines use atmospheric pressure sensing via the vent lines to control a diaphragm that moves a needle within a jet to adjust for rich or lean. These vent line/tubes need to sense the same atmospheric pressure that is at the air cleaner intake of the carburetor. Rotax designed an air box that connects both carburetors and has ports for the vent tubes. Since we don’t use the airbox on the RV-12 the vent lines are recommended to be placed under the float bail wires and terminated.

“WALT” wrote – With all the weird air flows possible inside the cowl I suspected that these vent tubes were sensing everything but stable air pressure. I put pressure sensors at the ends of both vent tubes and went flying. I was not surprised to see the pressures at both tubes varying and almost always different from each other. This meant the carburetors were being adjusted rich and lean throughout the flight.

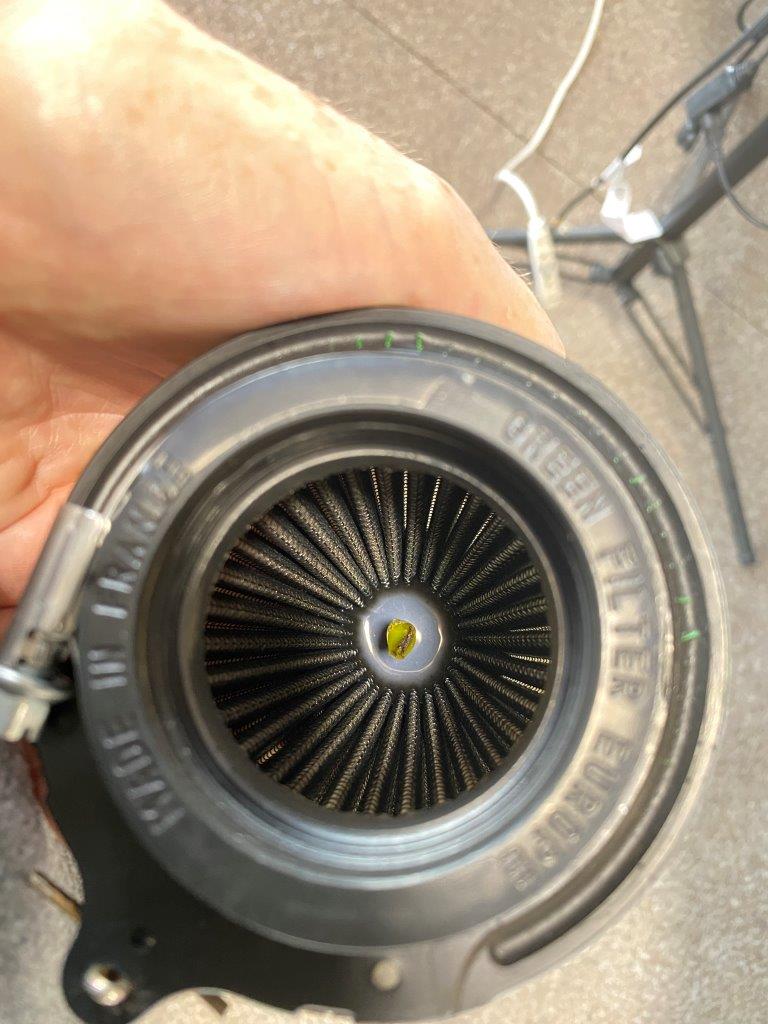
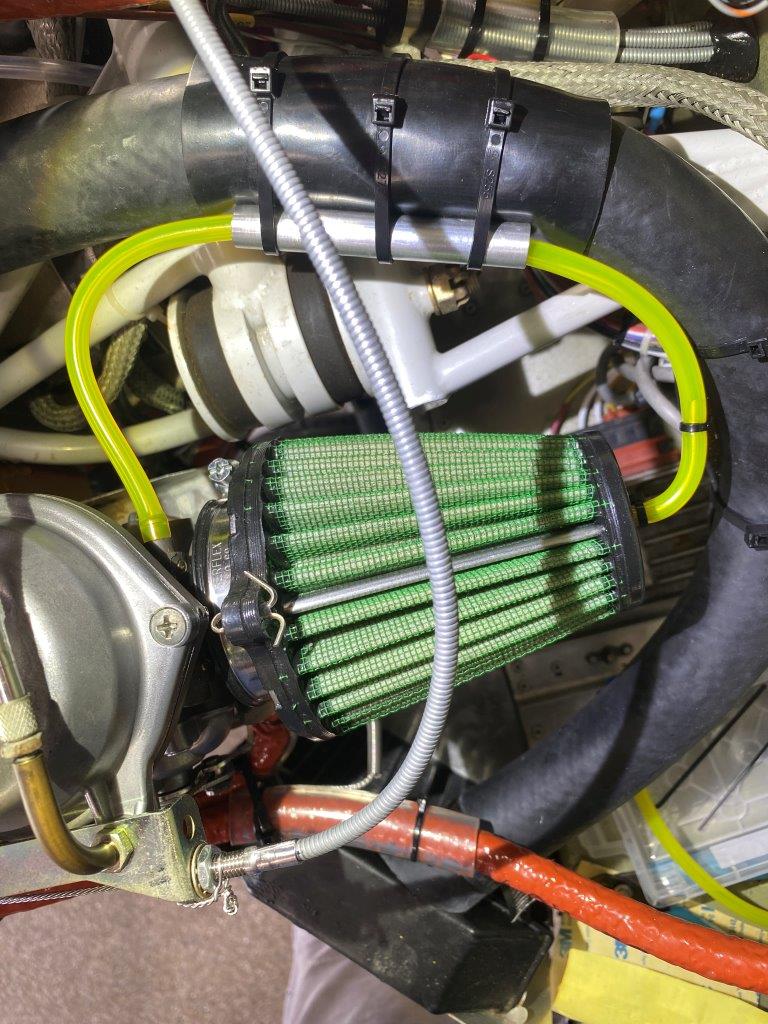
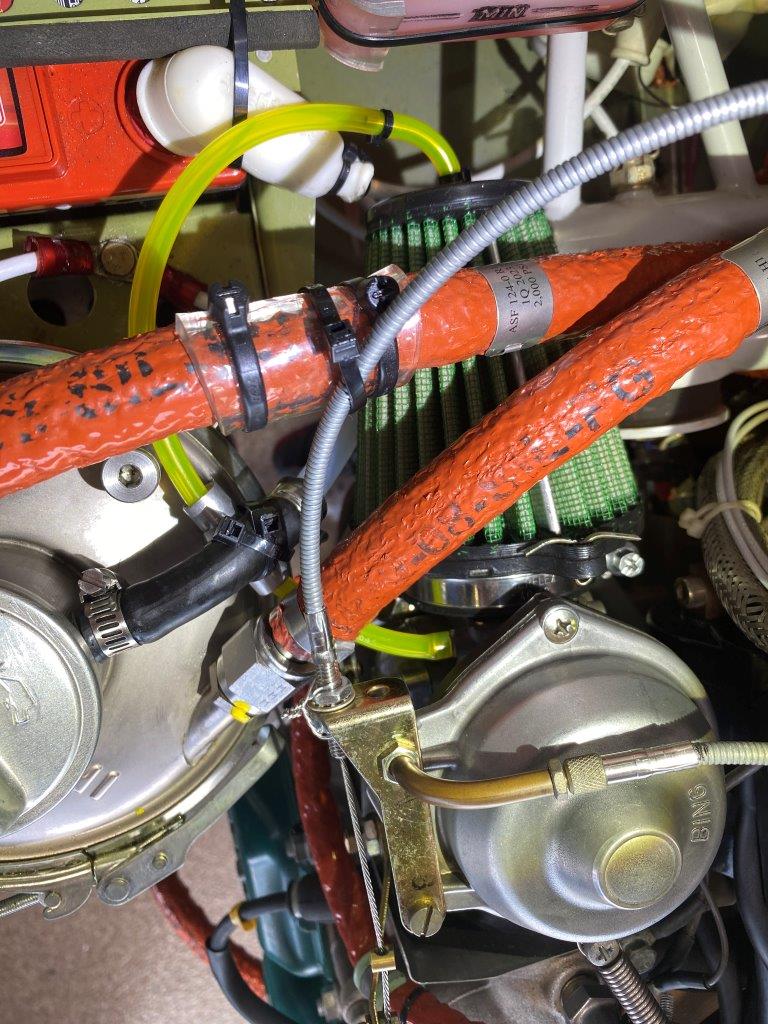
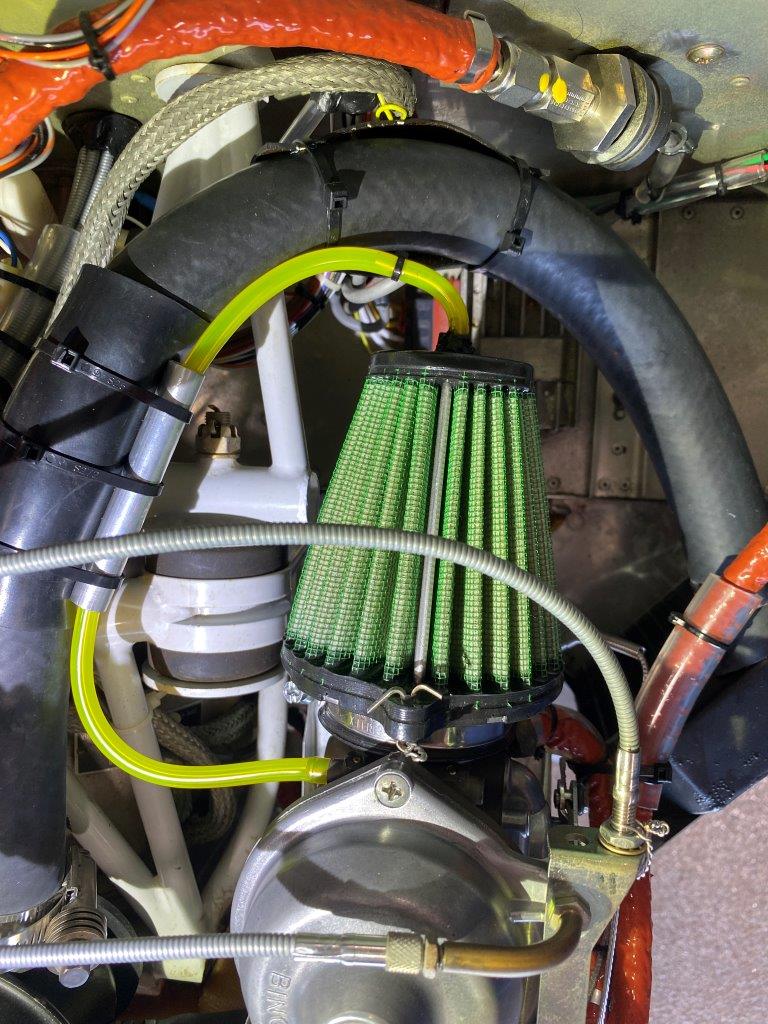
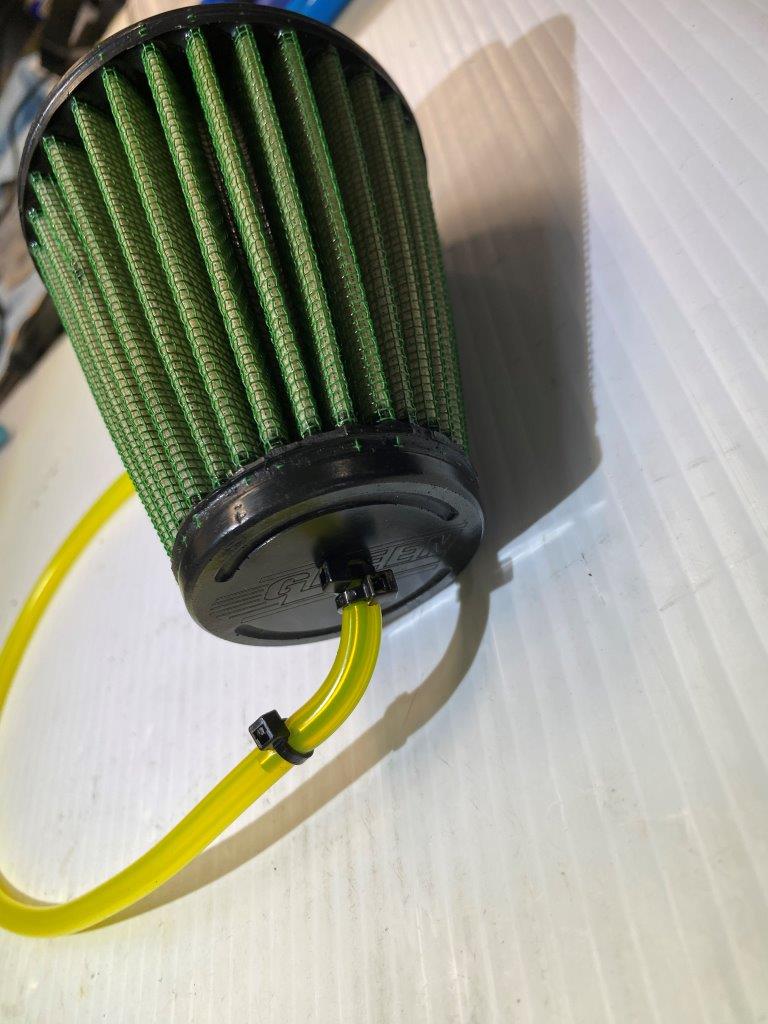
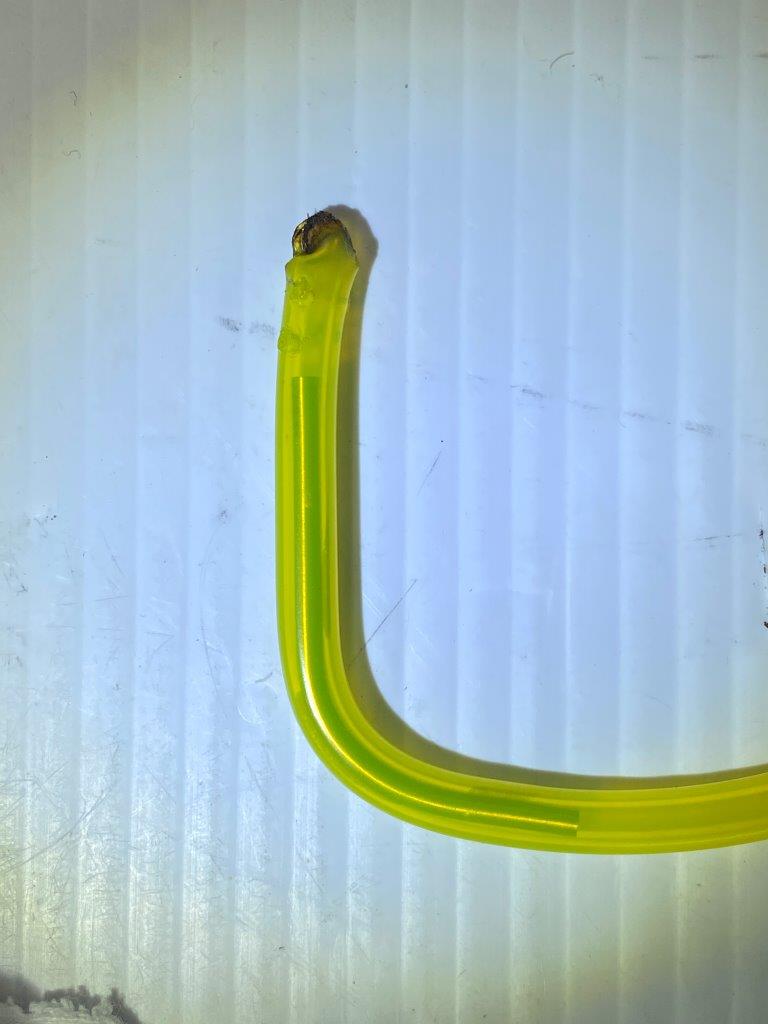
THE FIX: I used longer Tygon F-4040-A tubes and put them through the back of their respective air cleaners. I inserted a piece of 1/8″ stainless tubing bent to 90 degrees for the turn at the back of the air cleaner and a solid area so I could add a zip tie without crushing the tubing.. The zip tie is used to prevent the vent tube from going to far into the air cleaner. I melted the end of the tube and put 4 side holes with a hot wire for venting.

I did basically the same as Walt did above, but I found drilling the small holes in the tube was easier and cleaner. I did melt the tube end together, I guess Walt did this to maybe stop the stainless steel tube from being sucked through into the carburetor. He didn’t say, but I did it, I also used black silicone around where the tube enters the air filter.
I routed my Tygon tubes through a small cut piece of aluminum tube, so the Tygon tubes had a place I could direct the route and tie down without crushing.

DID THIS HELP – Yes, I’ve never had my engine run this smooth and it seems easier to sync the carburetors or it could be I also rebuilt both carburetors during this new vent line install.
I think balancing the vent sensing tubes is a plus!
Posted in UPGRADES | Leave a comment

Paint Interior

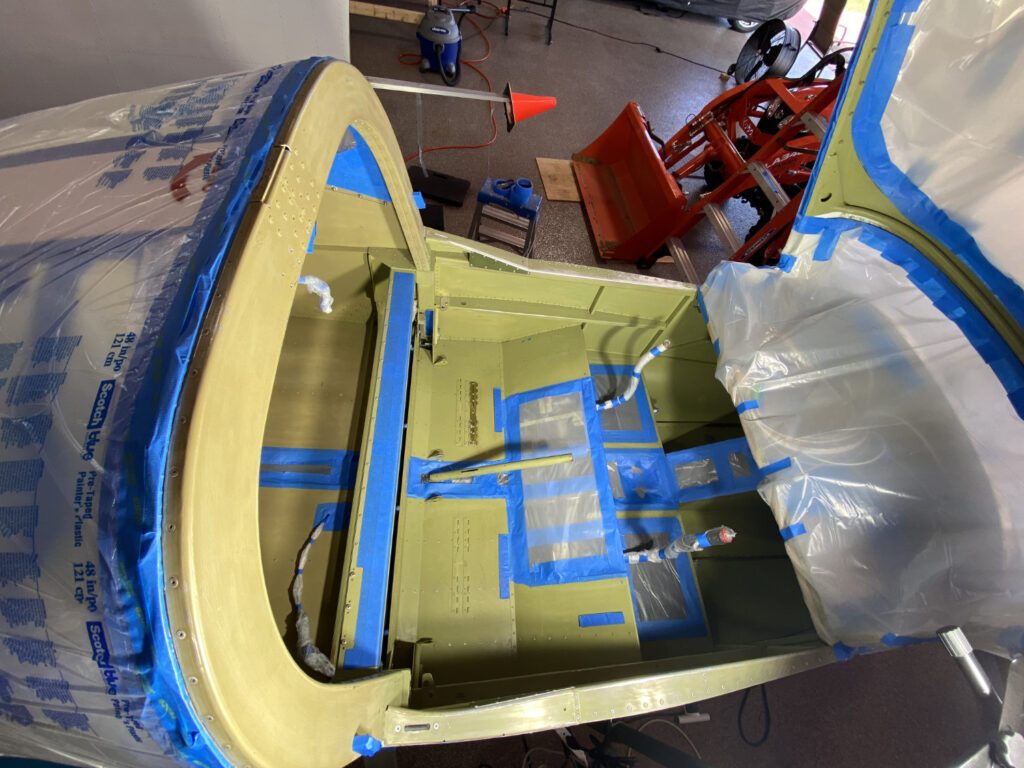
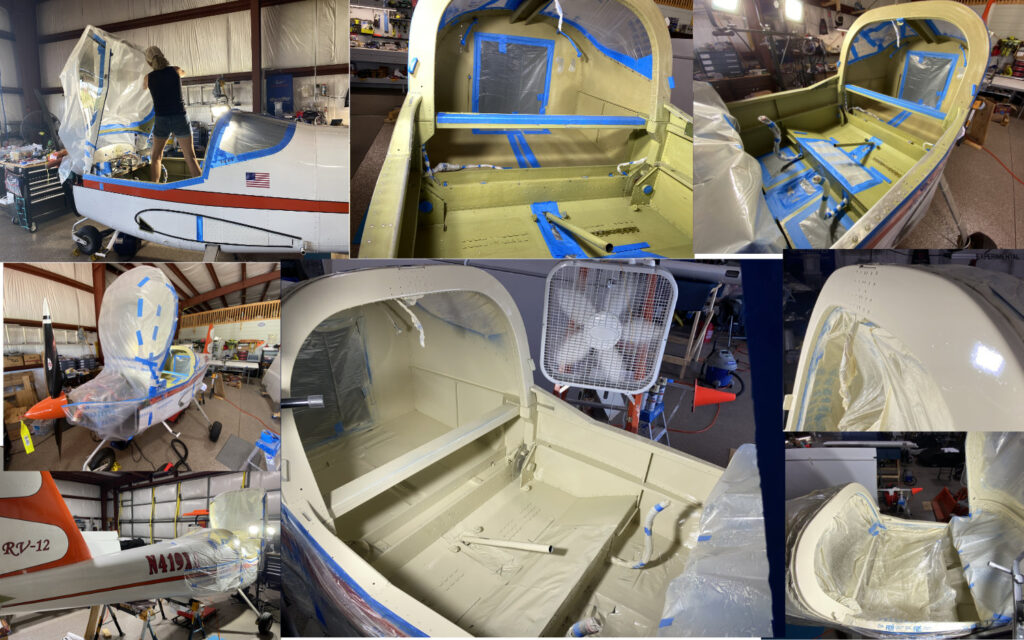
We did a full paint job on the interior. It never had any paint just primer and we picked gloss almond for the color. Karen did the full mask tape off and I did the painting. It turned out well!
Posted in Paint | Leave a comment

Panel

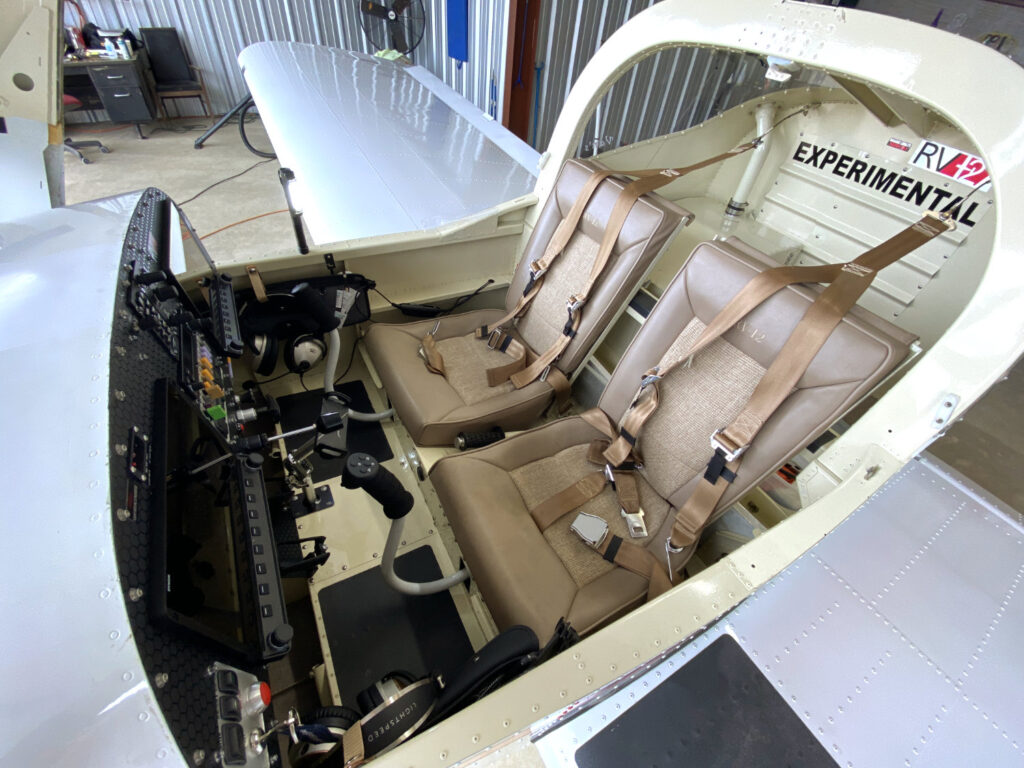
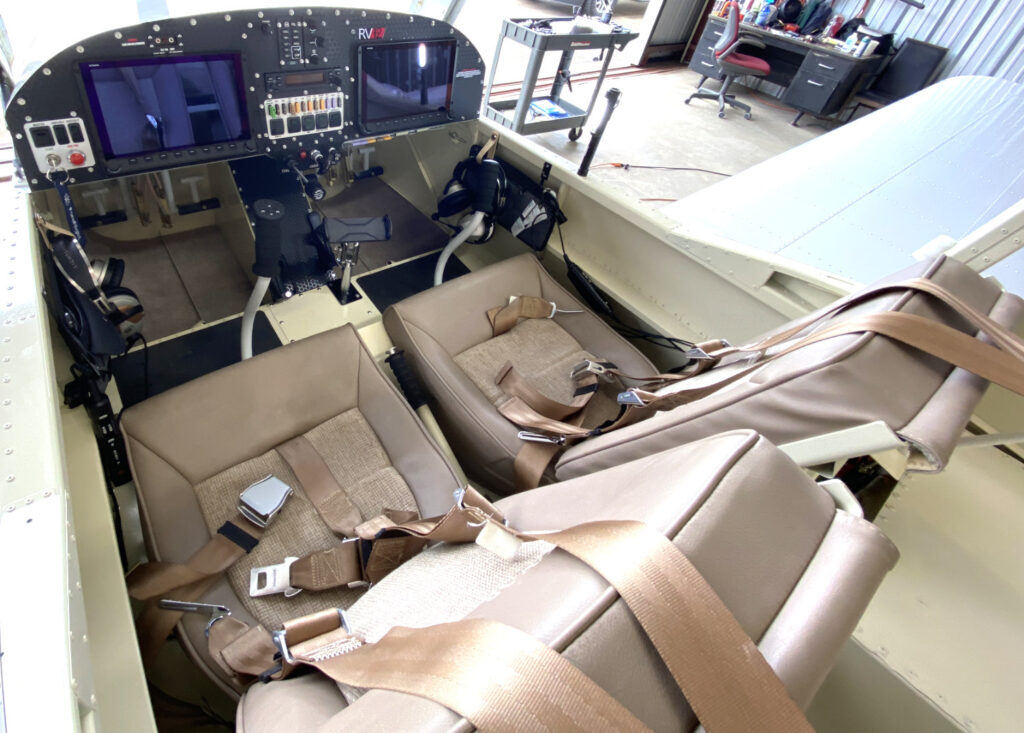
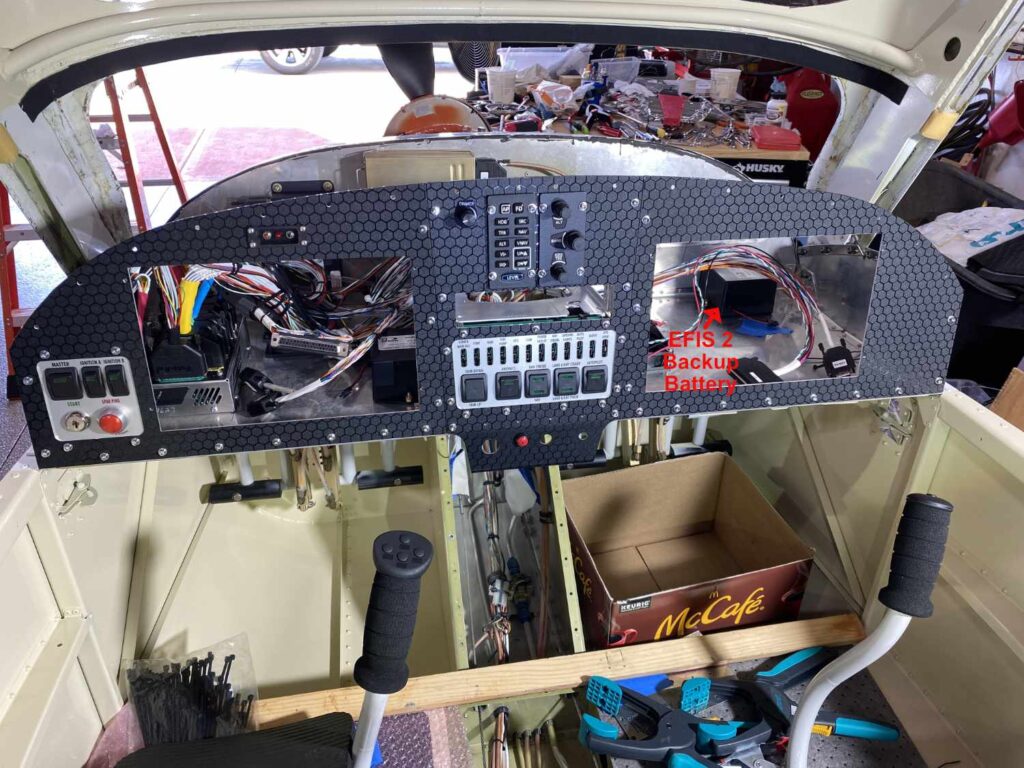
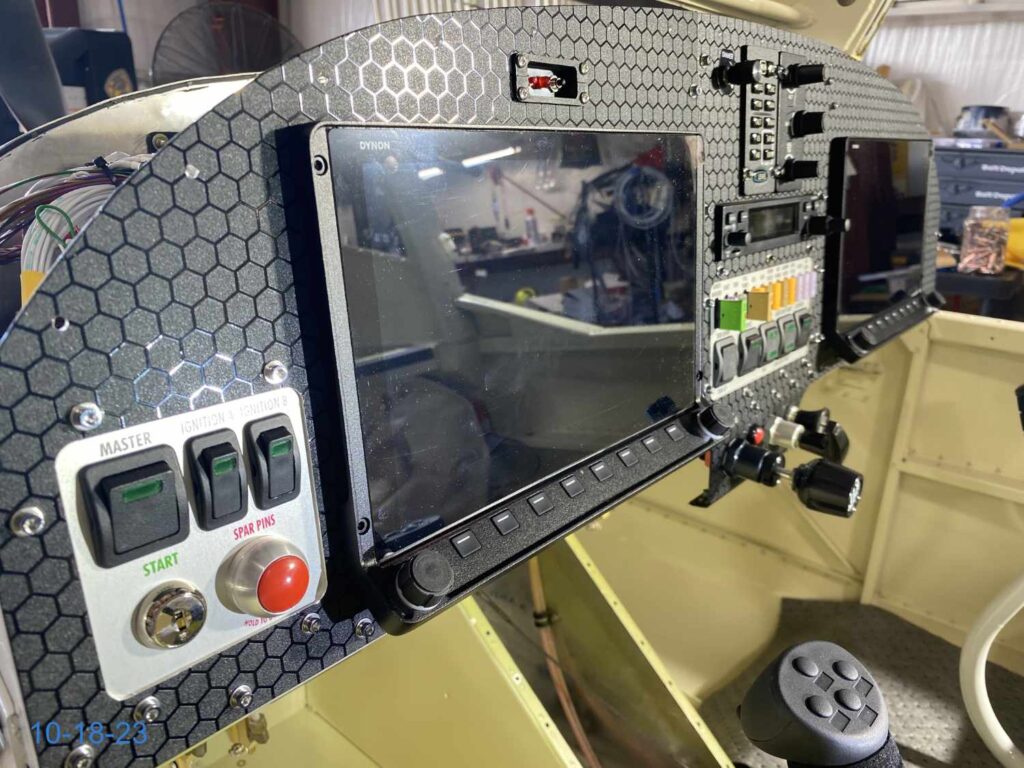
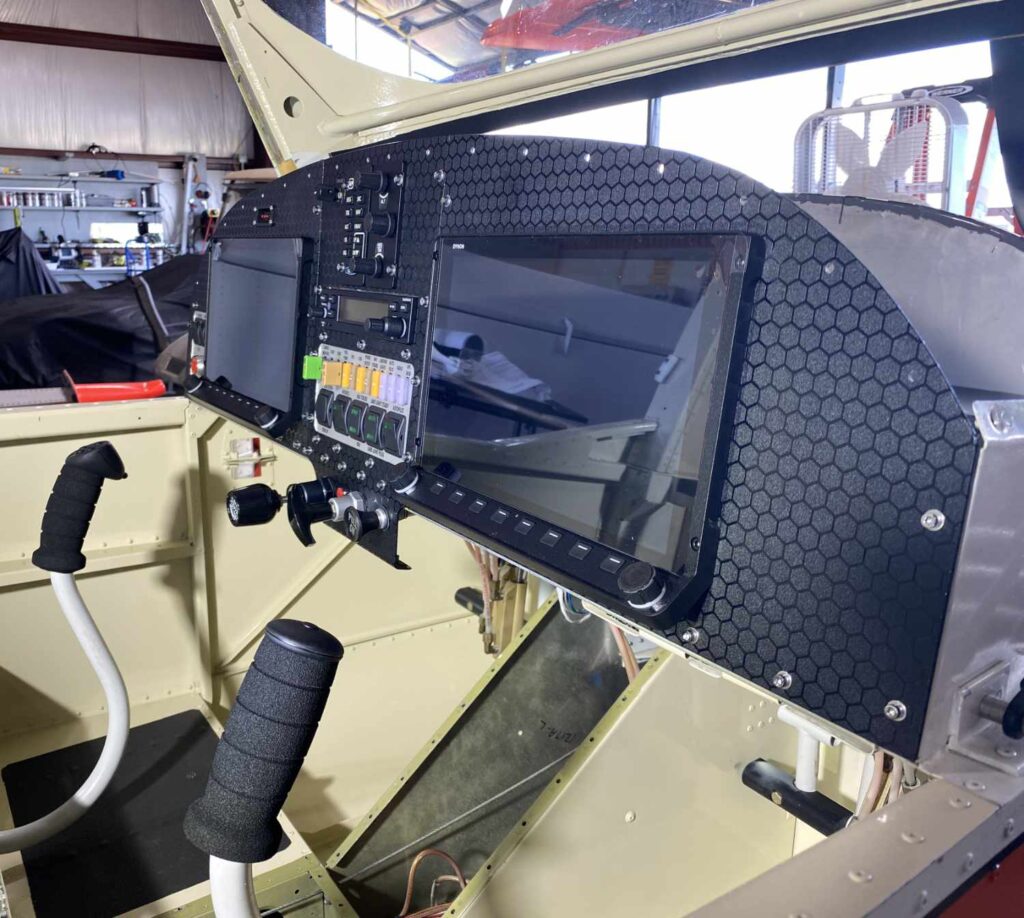
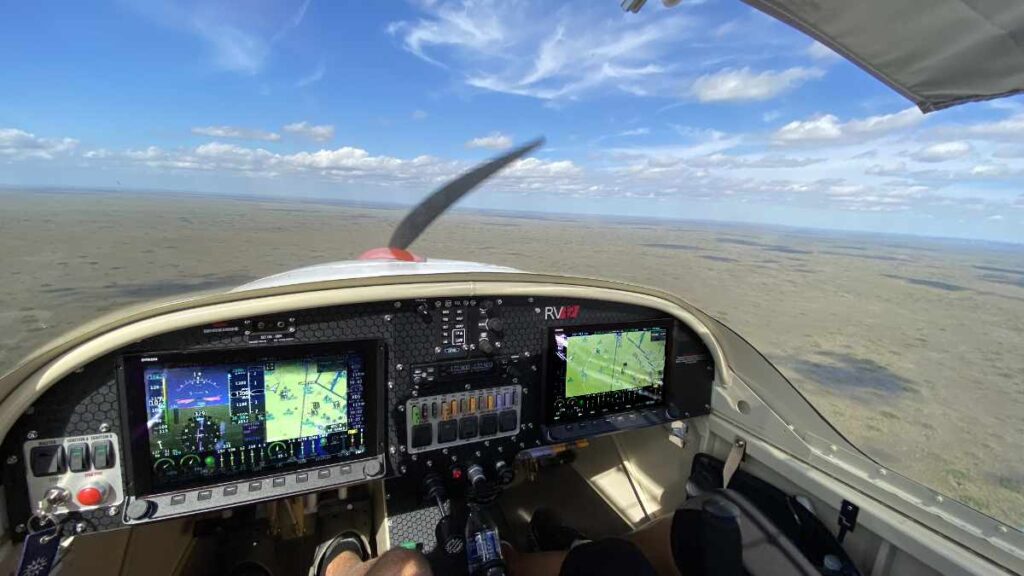
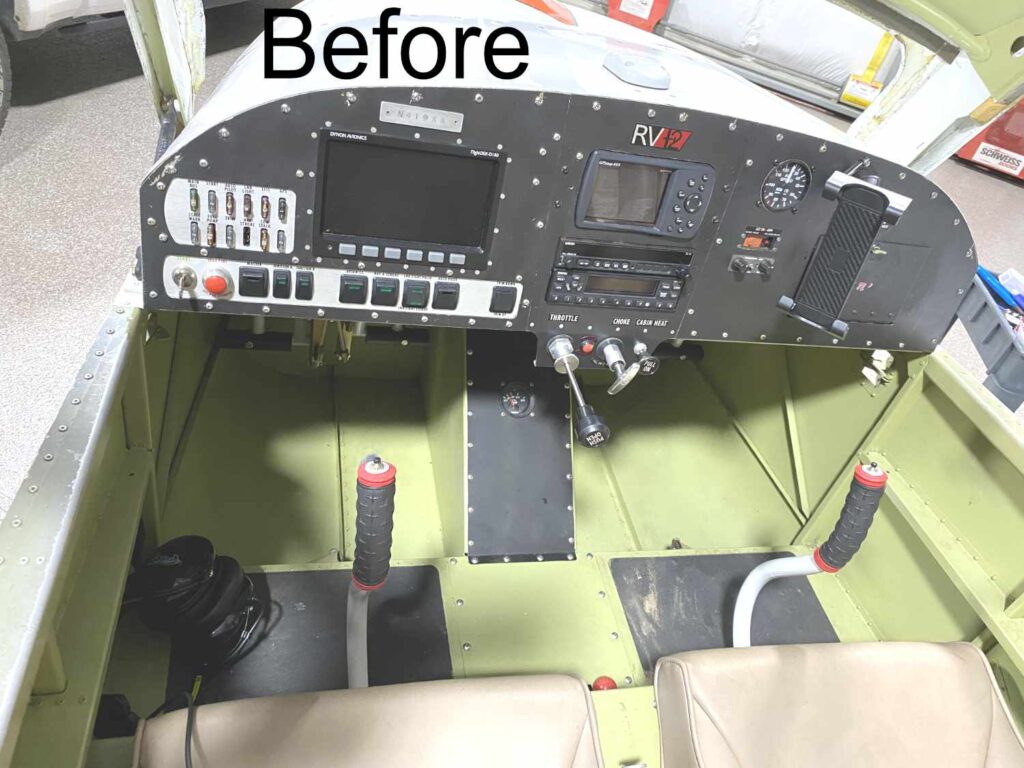
Panel Time! Installed the (3) honeycomb wrapped avionics panels with chrome slot headed screws today.

Posted in Panel | Leave a comment

Avionics Install

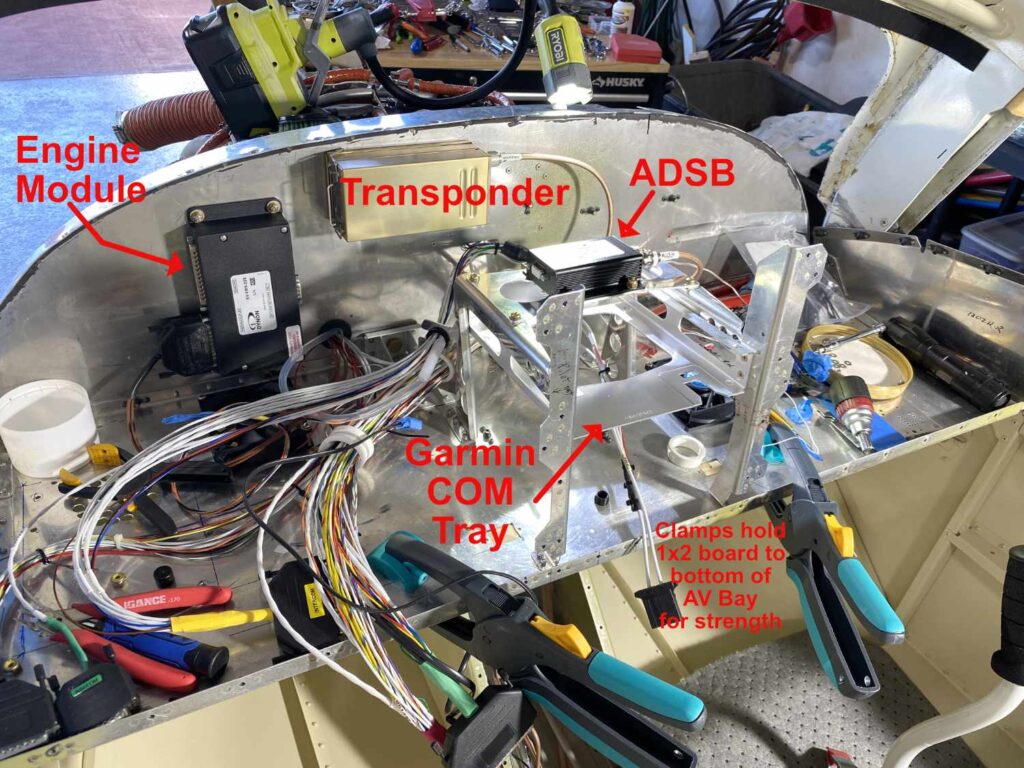
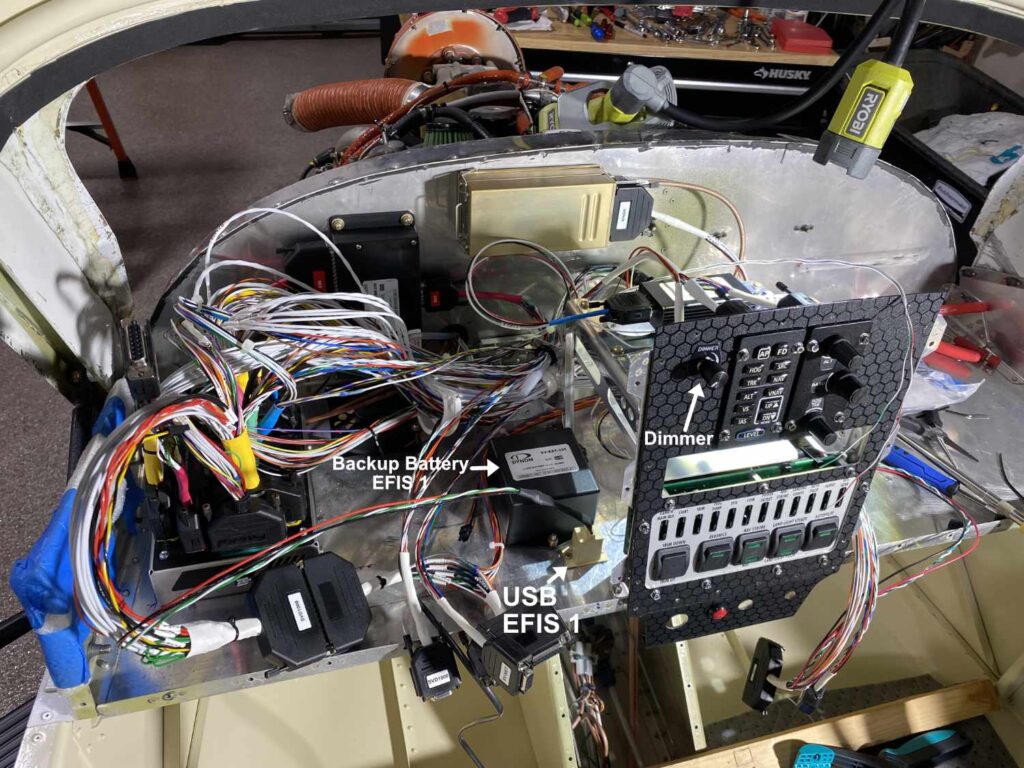
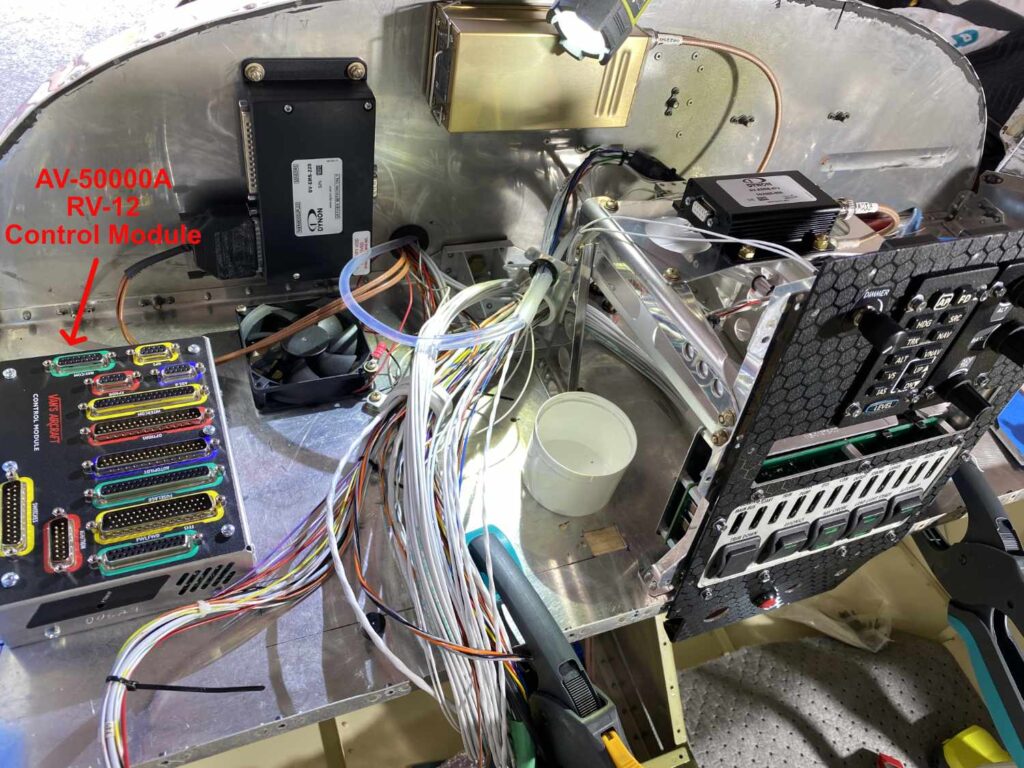
Started installing modules and the Garmin GTR-200B COM tray.

Posted in MISC | Leave a comment

USB Outlet

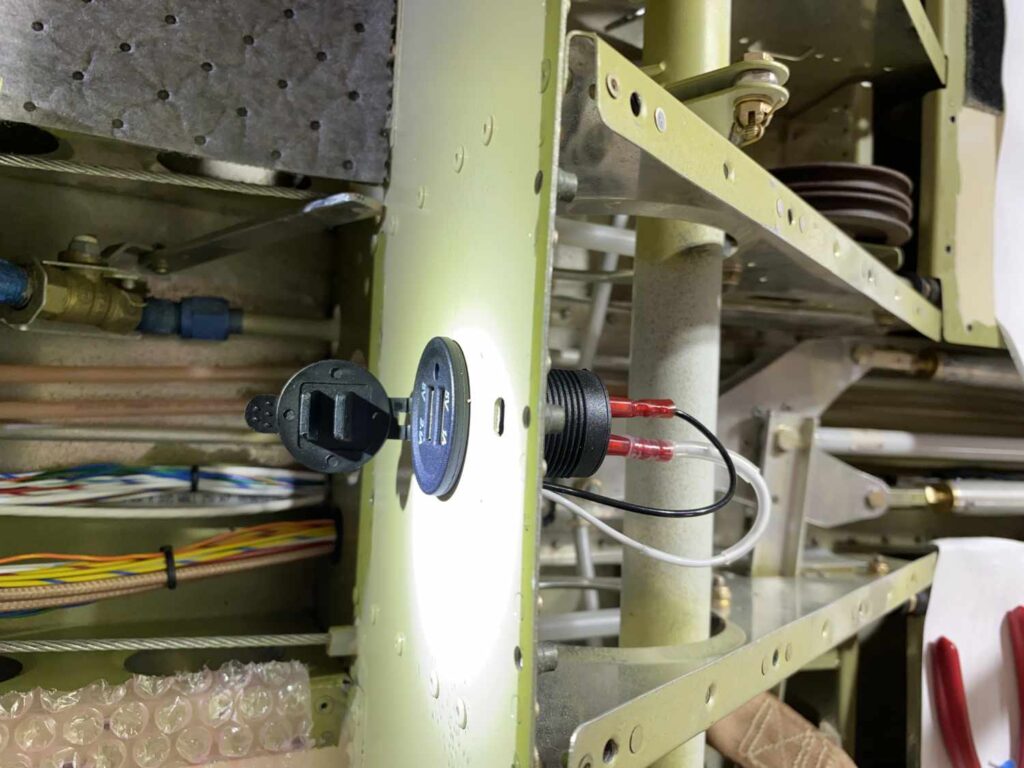
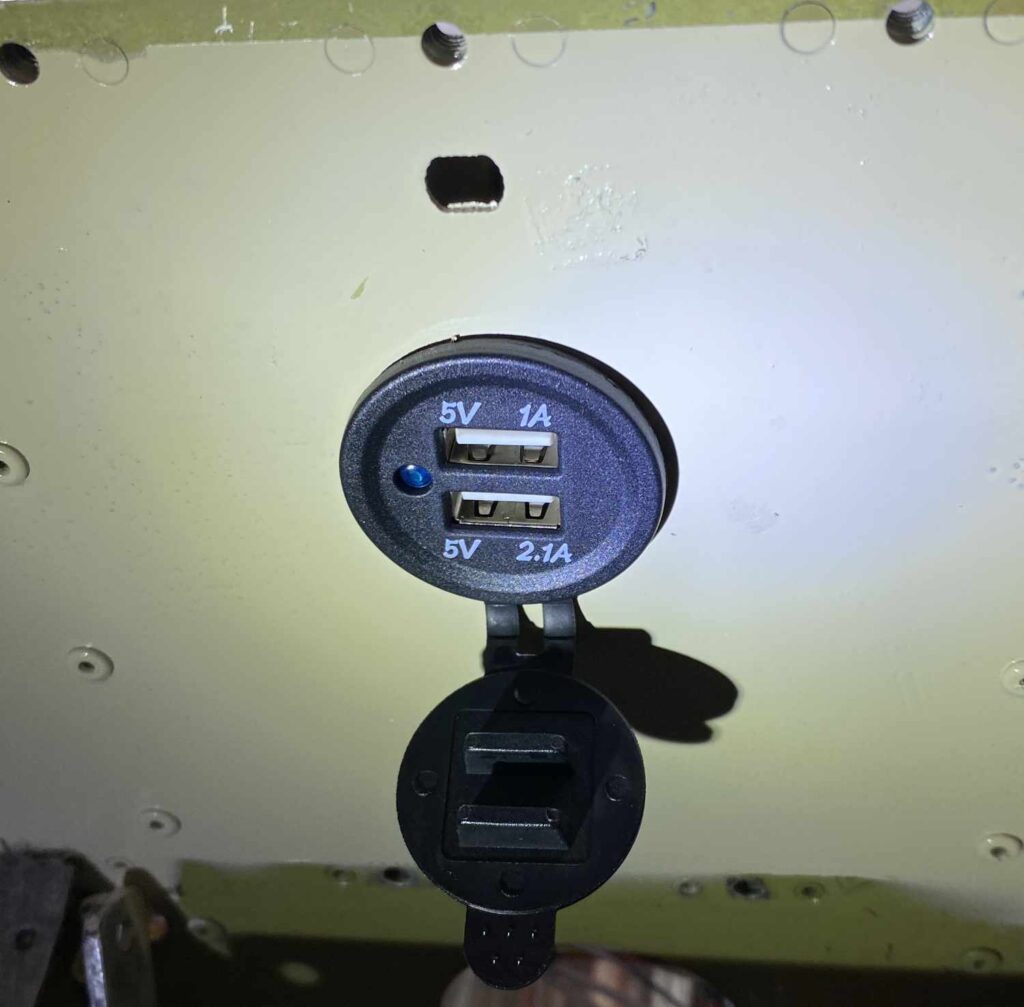
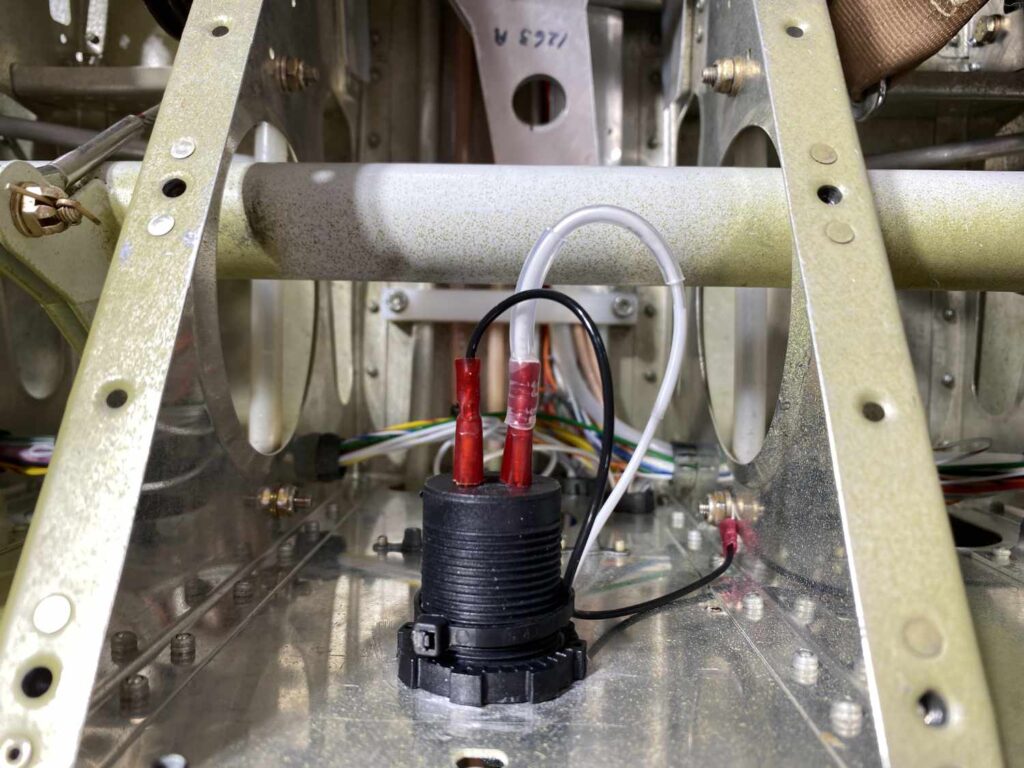
Well….these days everything basically runs or charges by USB connection. This install upgrades the old cigarette lighter outlet to the new USB outlet.

Posted in MISC | Leave a comment

Stick Grips

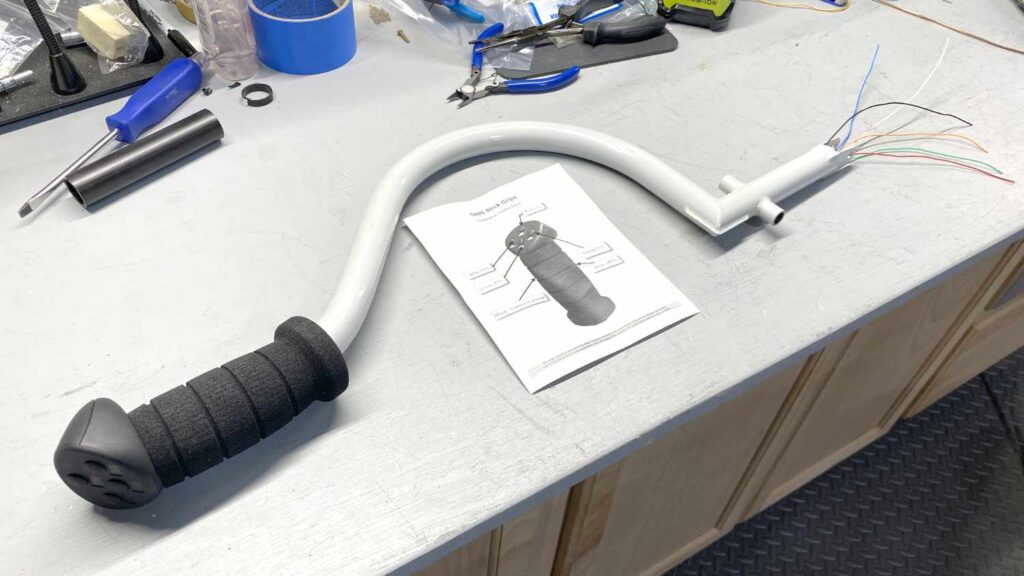
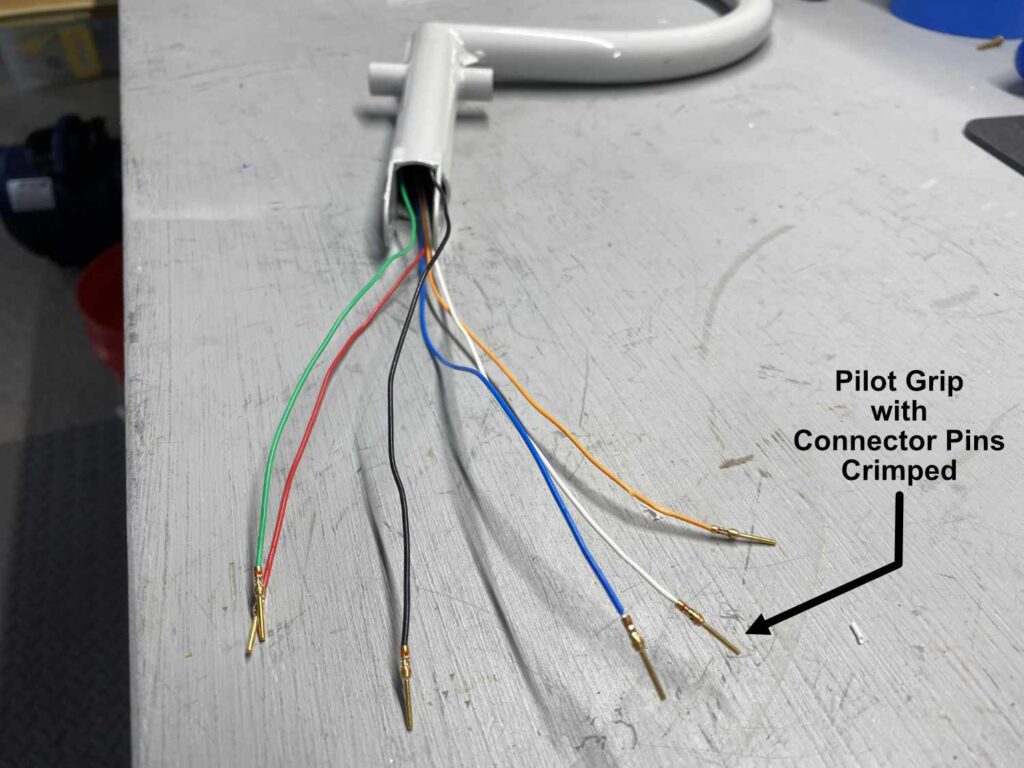
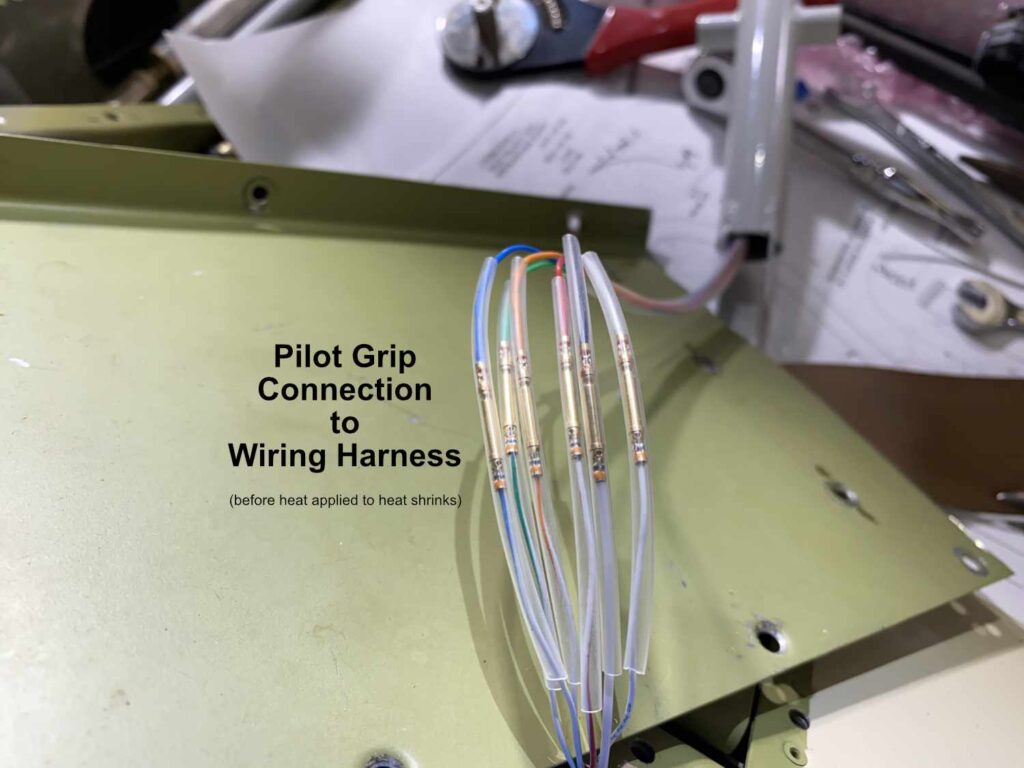
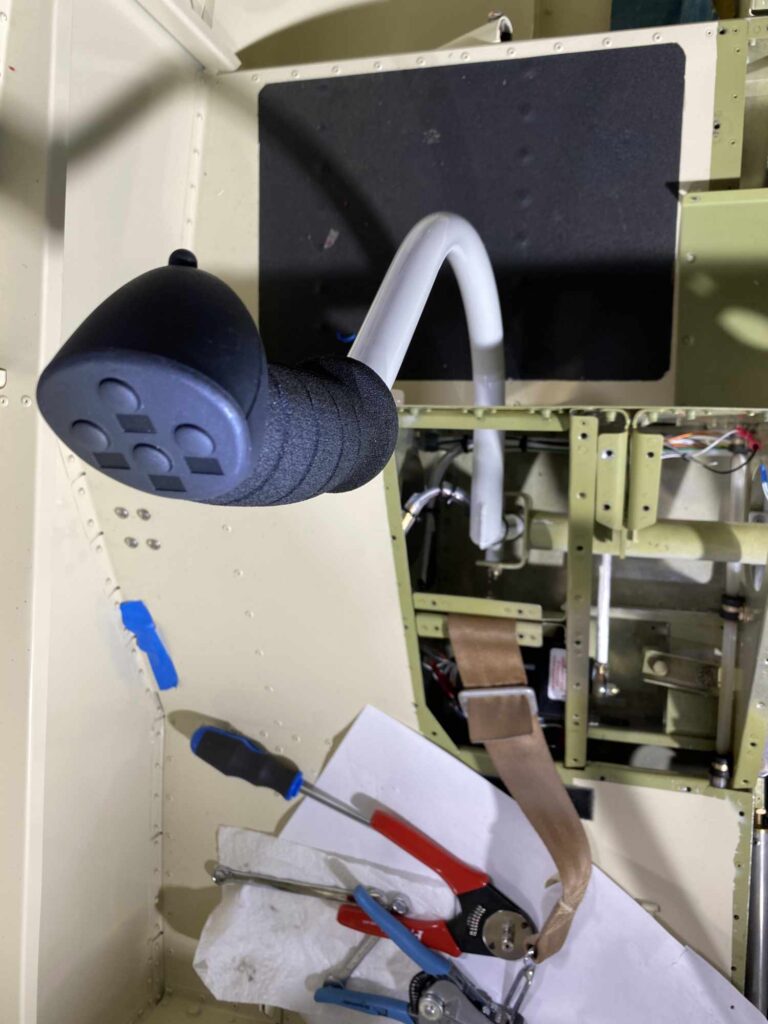
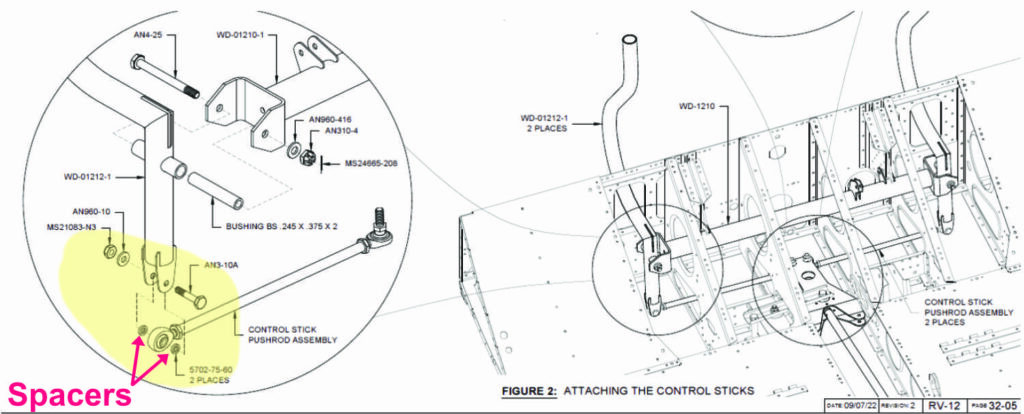
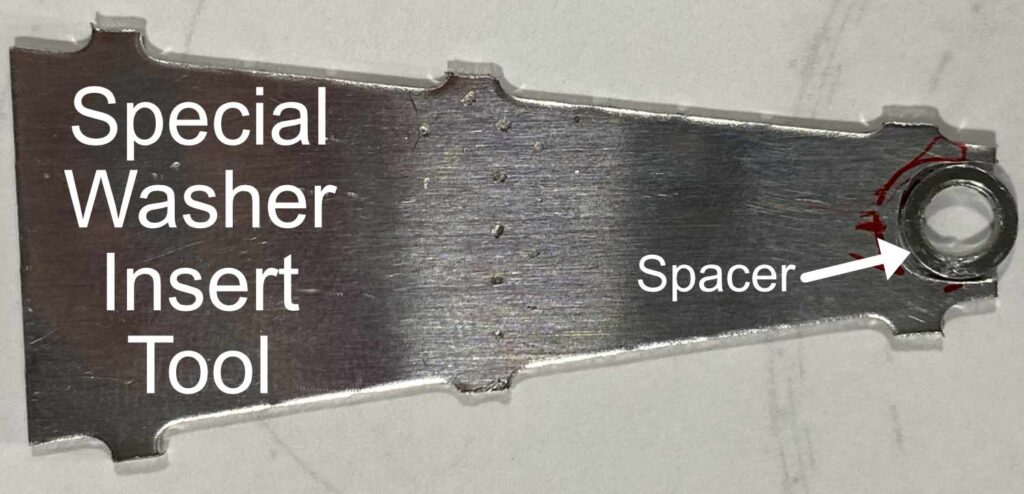
Big upgrade from our old single Push-To-Talk grips. This new grip on the pilot side has (5) buttons – (2) trim up/dn, (1) AP disconnect, (1) frequency flip-flop and PTT. It will be nice to have this on the stick for easy access. It was tough pulling the (5) wires through the pilot control stick. The stick isn’t built for a straight shot through, it splits inside into two chambers. You need half of the wires to go through separate chambers. I had to remove the pilot stick and work on it at the bench. The big problem was re-installing the stick, which trying to put the spacer washers back in the turnbuckle was close to impossible – no room to work. I decided to make a special tool for the washer insertion.

Posted in Grips | Leave a comment

Antennas

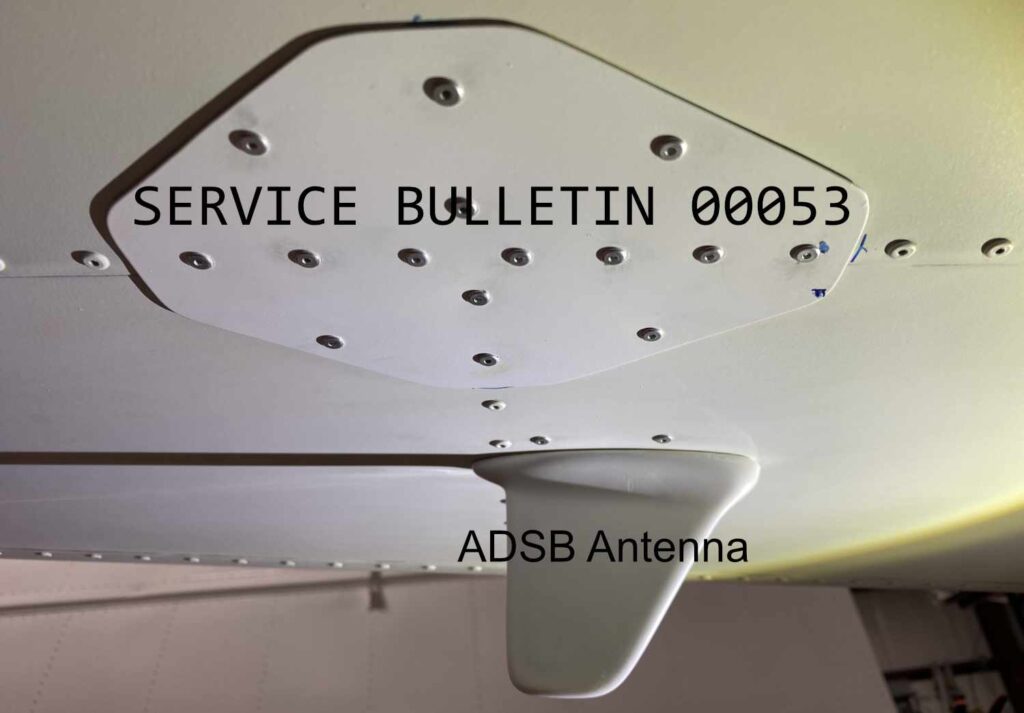
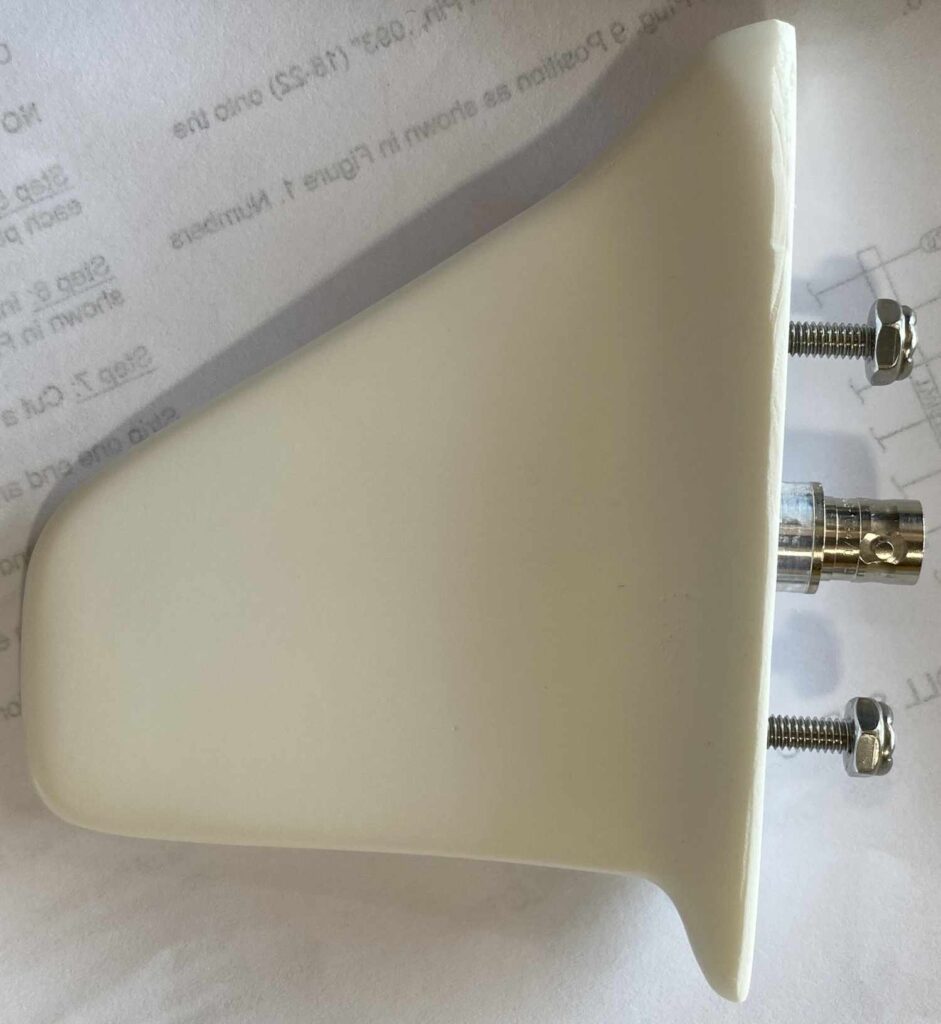
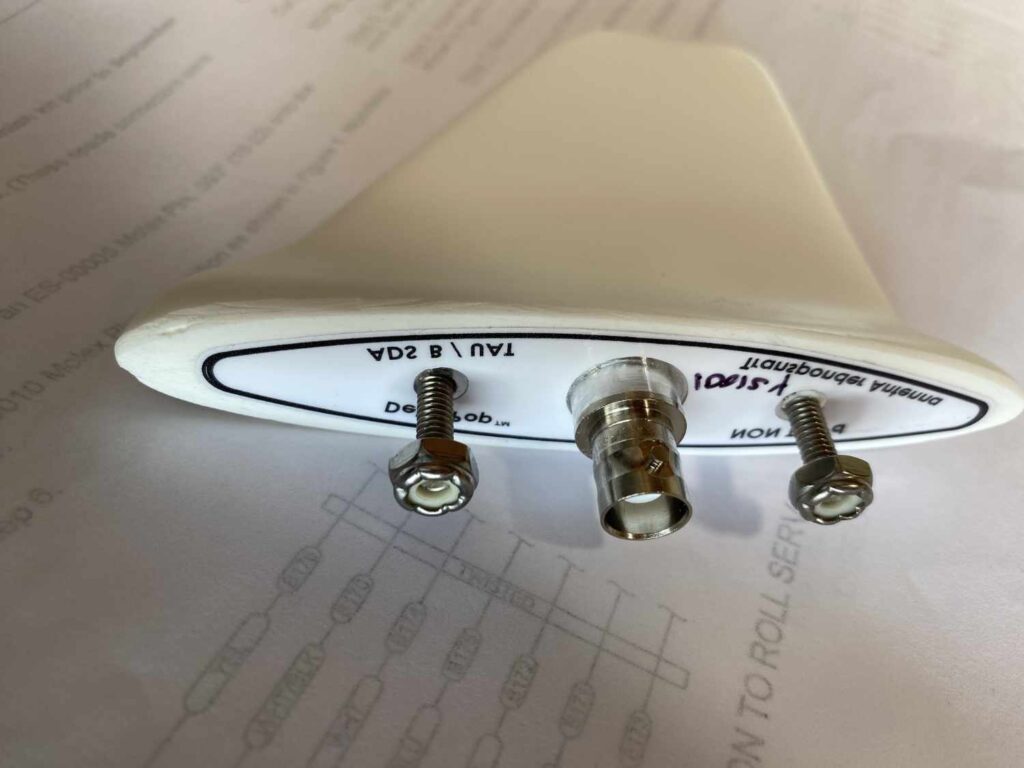
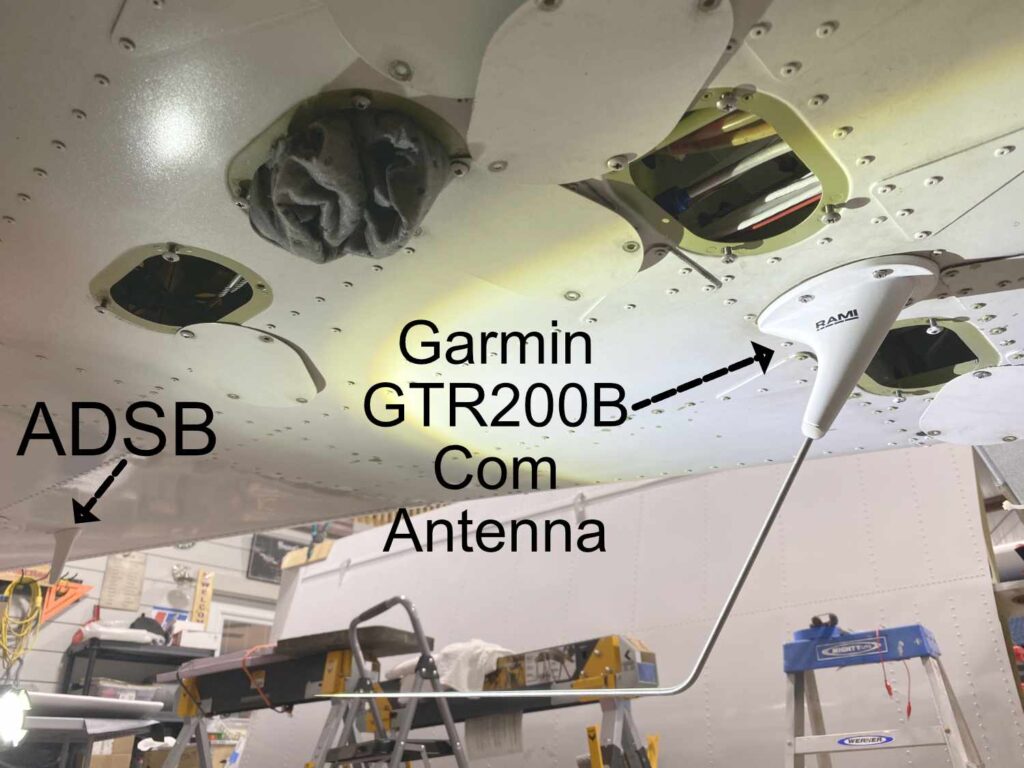
All antennas – COM, Transponder, GPS and ADSB get replaced in this avionics upgrade. The tough one to remove and install is the COM. It has an inside mounting plate, (4) small washers and nuts, that you have to screw-on through the access holes next to the antenna, only by feel without seeing. You will need a mirror inspector and you will drop the washer/nuts a few times. It just takes a lot of patience.

Posted in Antenna | Leave a comment

Fuselage and Wing Connector

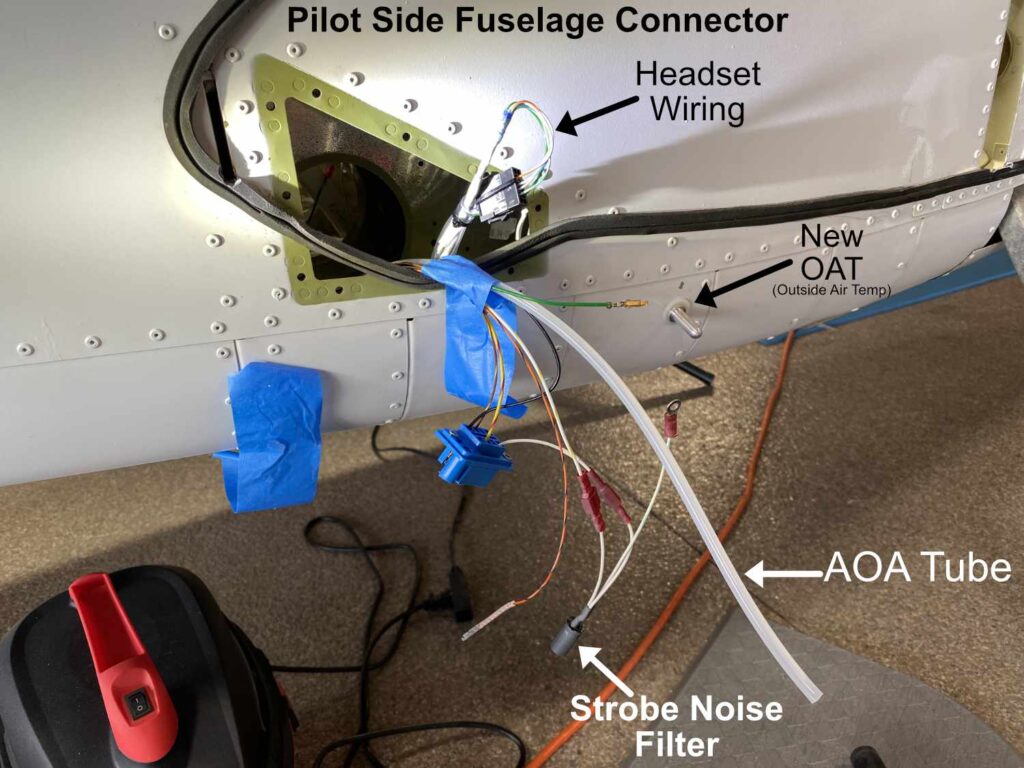
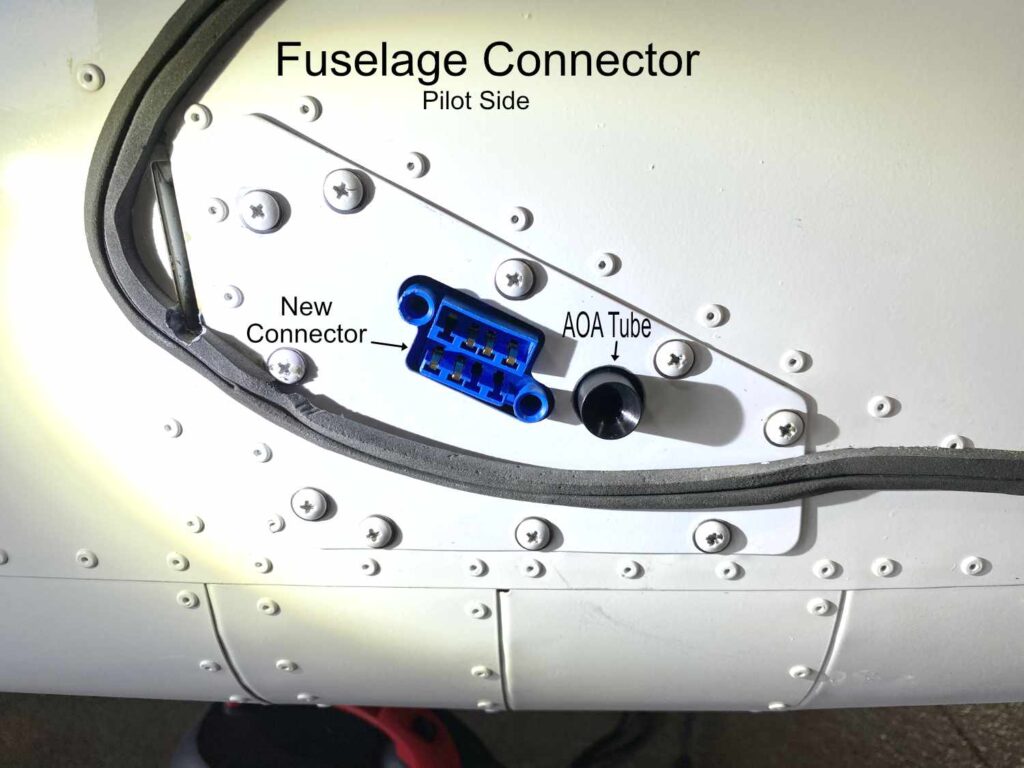
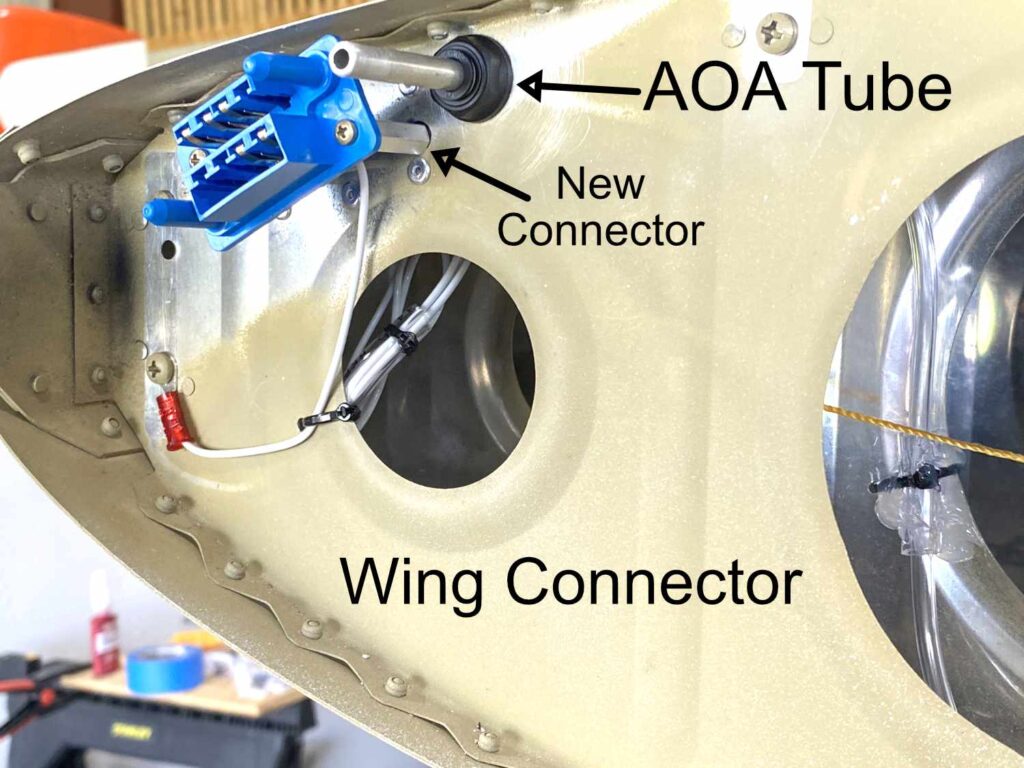
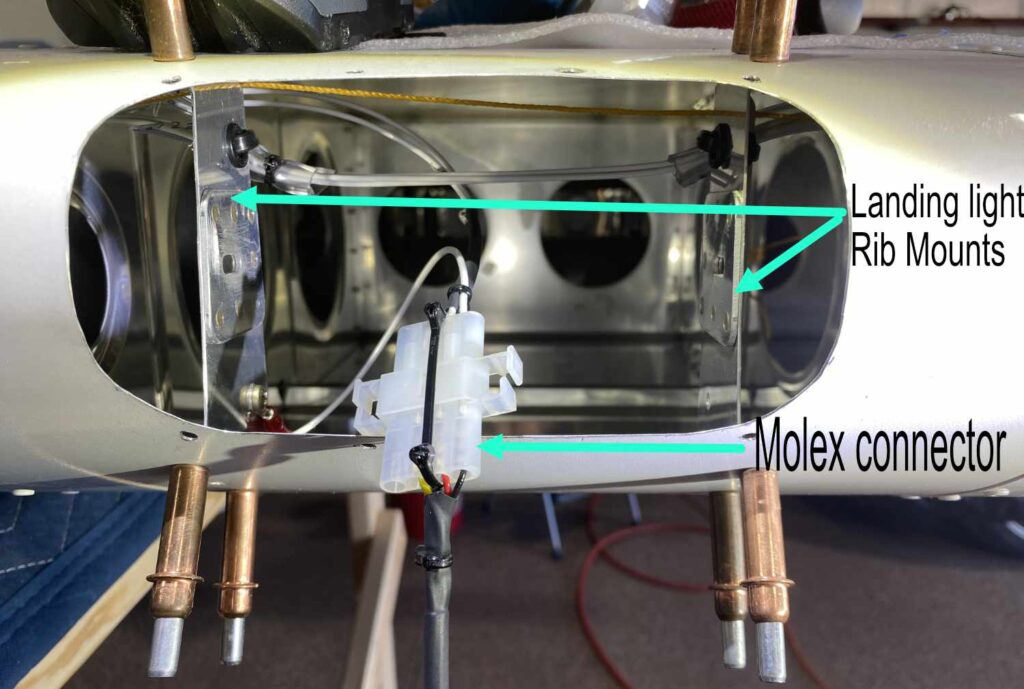
You have to upgrade the earlier legacy RV-12 fuselage to wing electrical connectors with the new current ones from Van’s Aircraft. I like the new ones and it’s a nice improvement. The connectors allow you to remove/install the wings easy with just a slide-in plug and play style connection. The connectors are for the strobe lights, landing light, nav lights and AOA (angle-of-attack) AOA is only on pilot side. RV12 wings are removable.

Posted in Electrical | Leave a comment

Landing Light

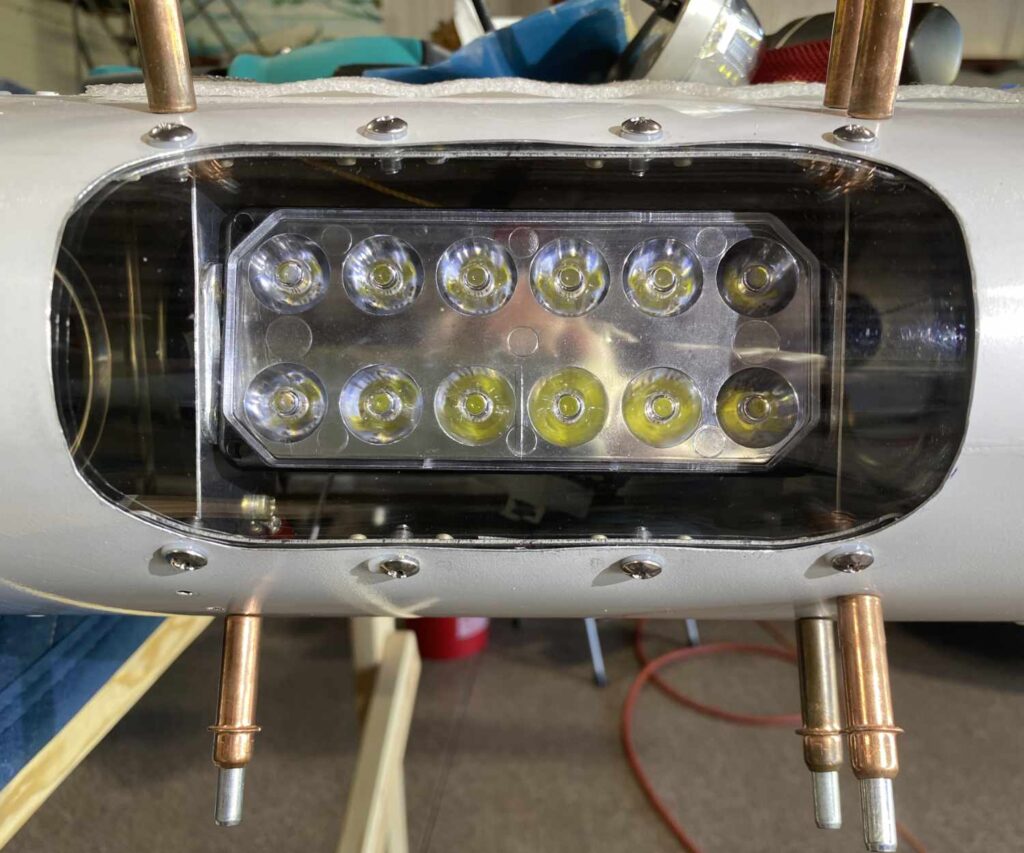
Our RV-12 had no lights, so we purchased the retrofit light kit from Van’s Aircraft and started from scratch. The big thing was, the original builder was suppose to have run strings in the wings through all the snap bushings from the root to the tip just for this future upgrade. I found them installed, 13 years old, but still very strong. I used them to pull a new dependable string.
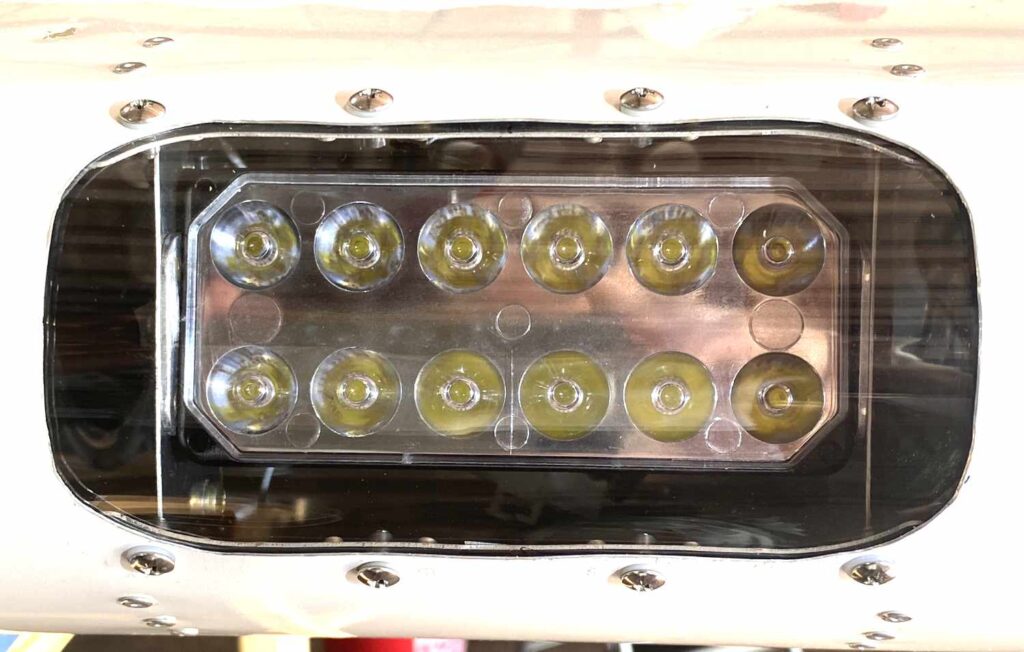
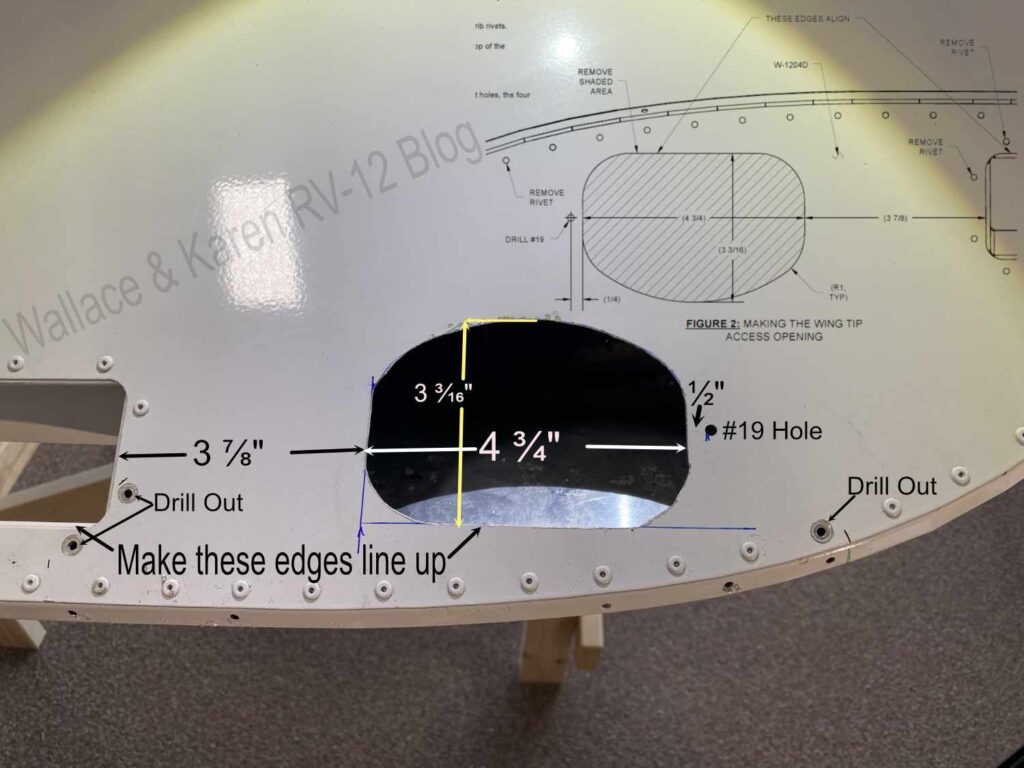
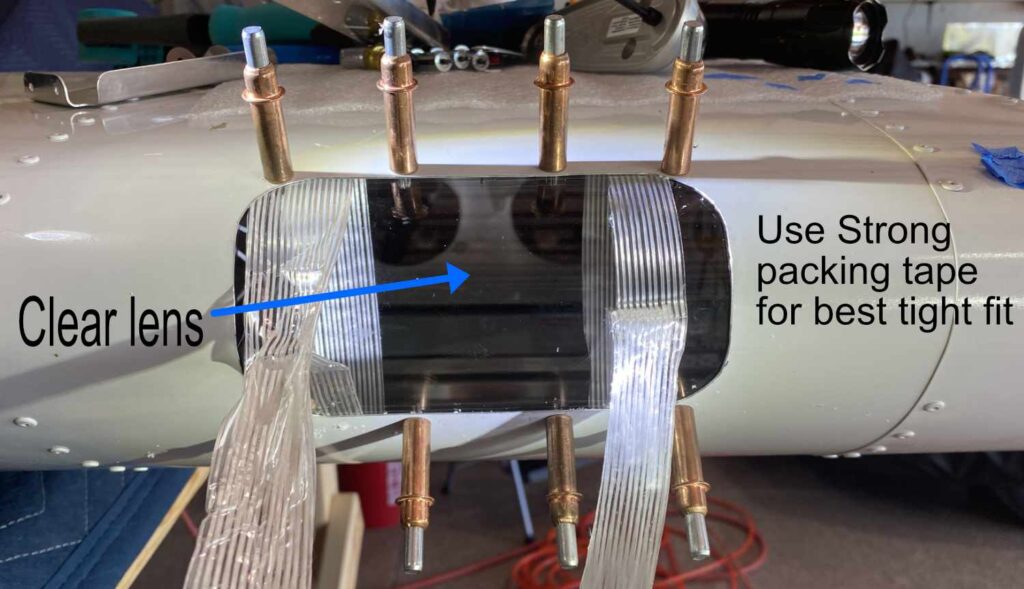
The install starts by making another big cut-out in the wing. The right wing gets the (1) landing light and strobe/nav light on the wing tip. Only (1) landing light allowed on the Rotax 912uls engine, so it doesn’t overload the electrical system. I found using strong packing tape to place the lens, lets you pull harder for a tighter fit. The landing light gets (3) wires – power, pulse and ground to the wing rib. It went together pretty good, except I didn’t countersink the 8 lens mounting screws per plans. The paint cracks and flakes off when you dimple the holes. So I used a stainless AN526C832R8 screw with a white nylon washer.

Posted in Lights | Leave a comment

Strobe Lights Retrofit

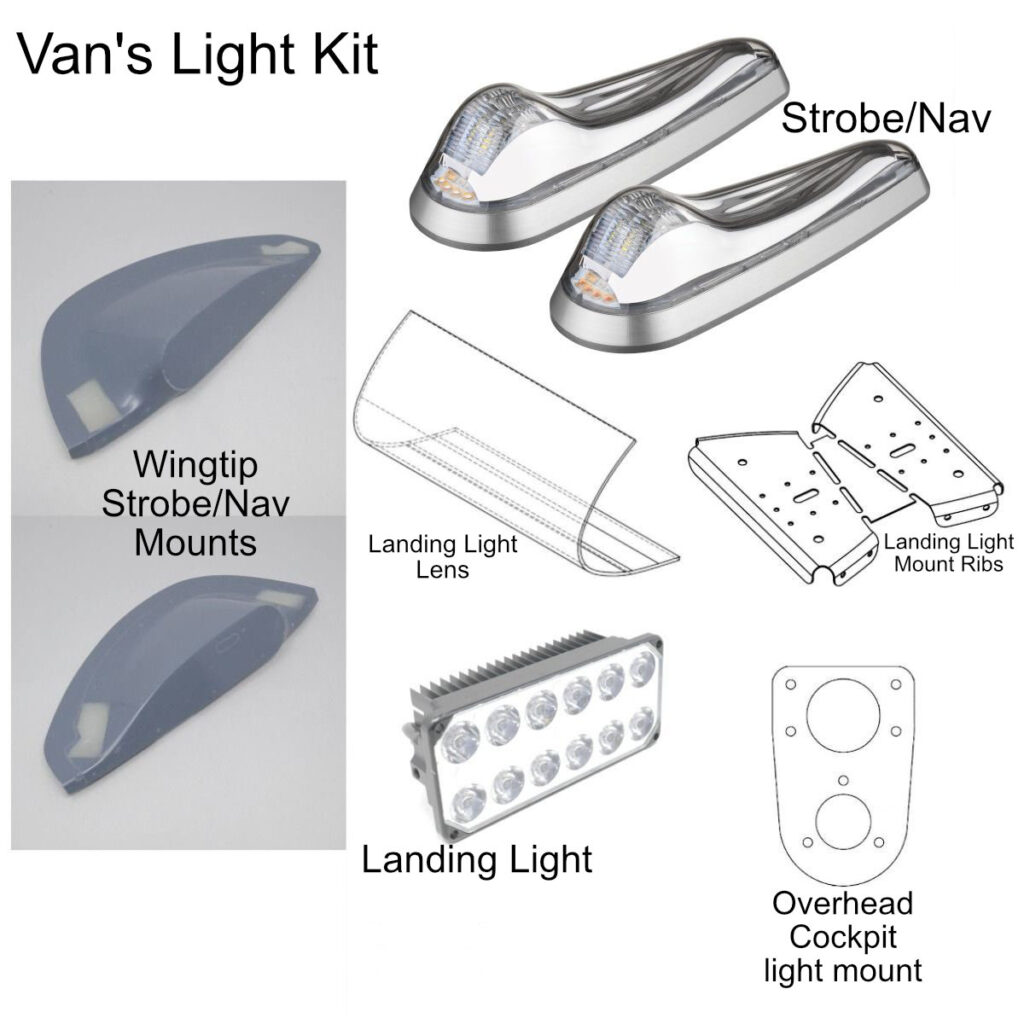
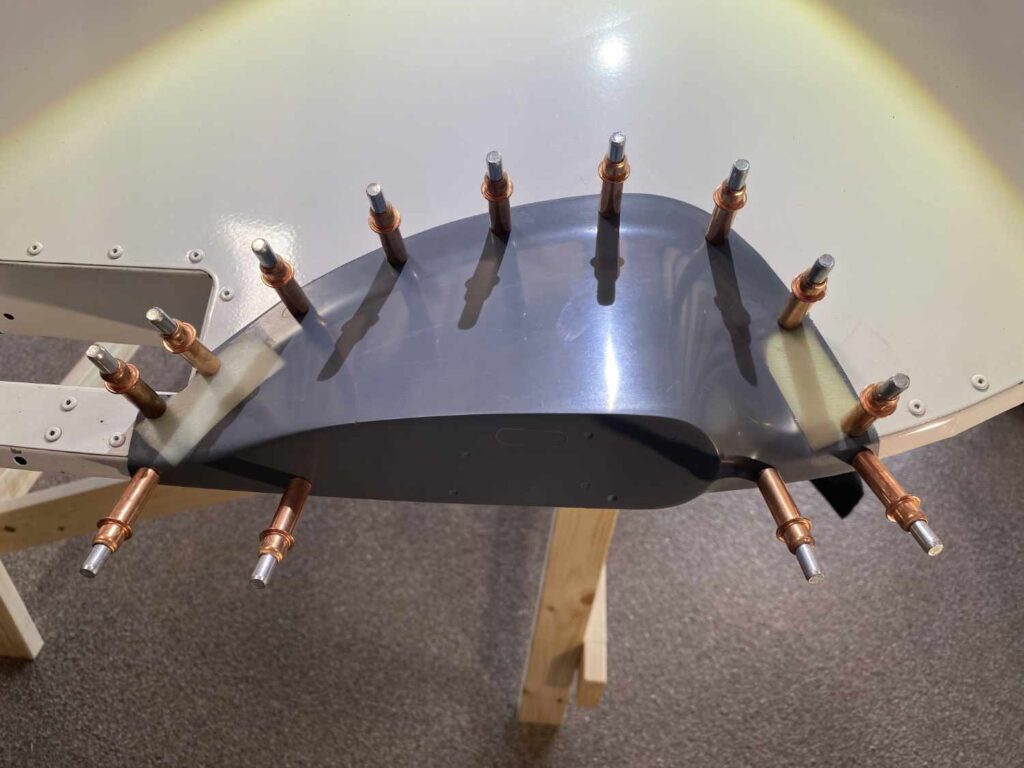
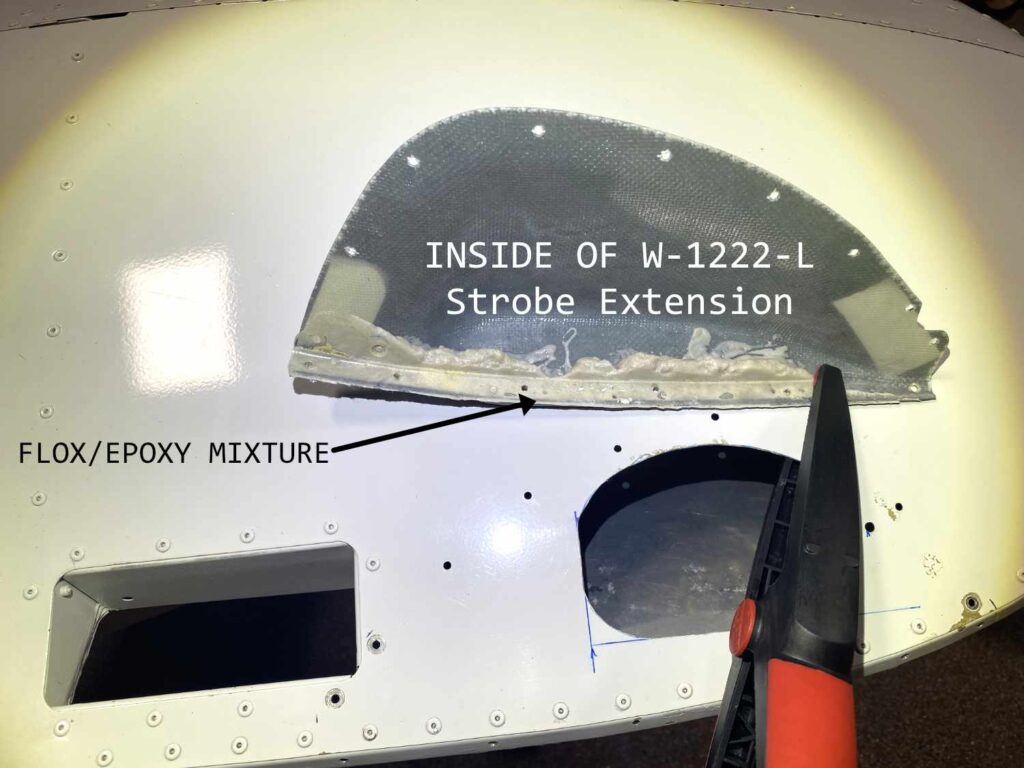
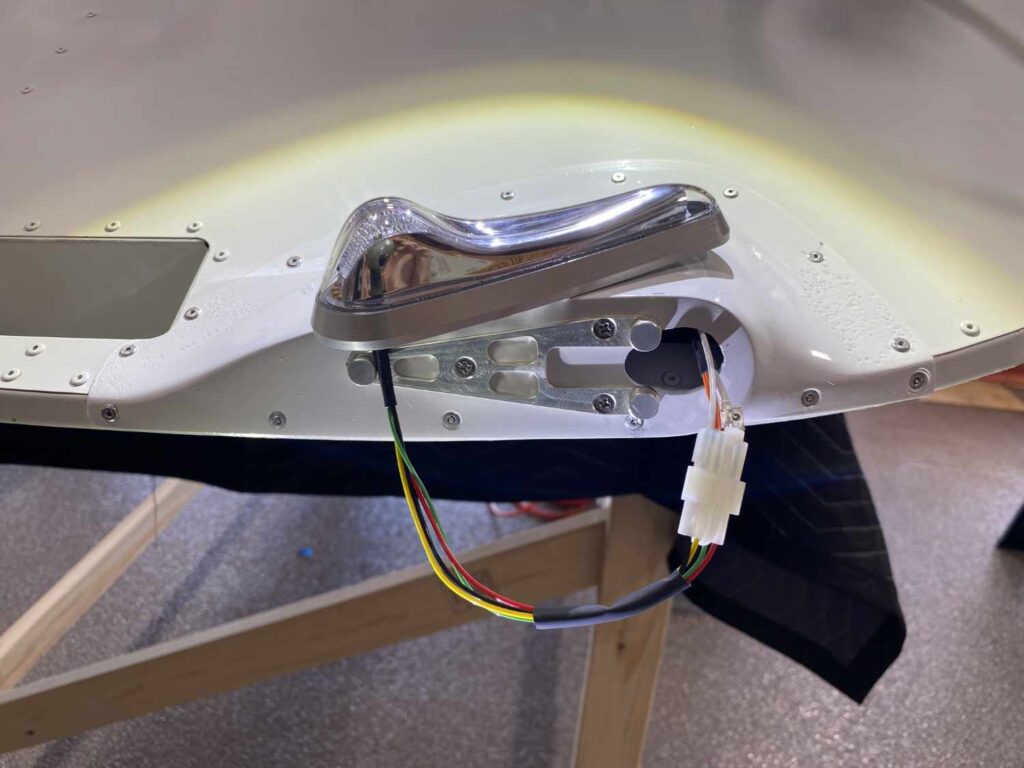
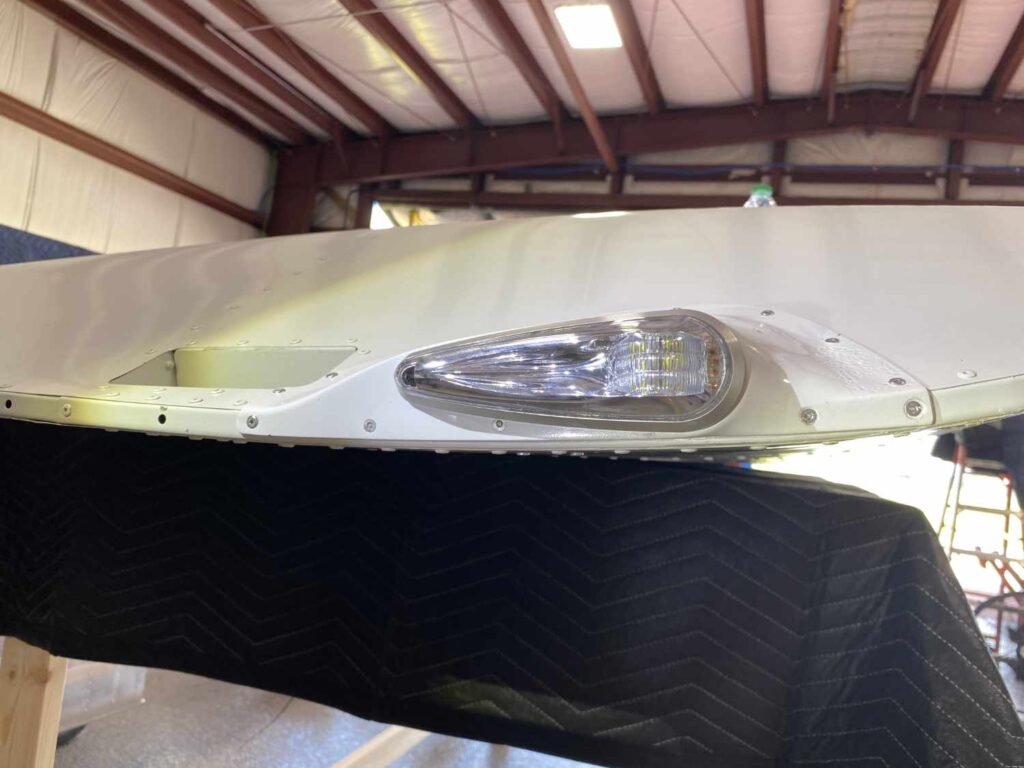
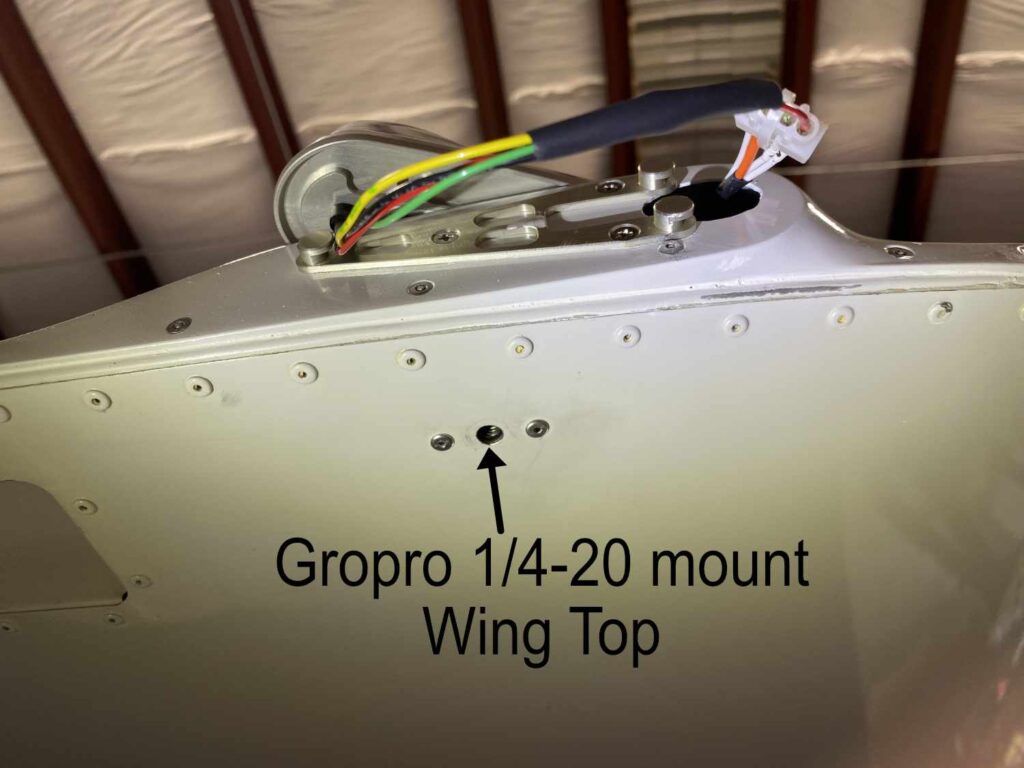
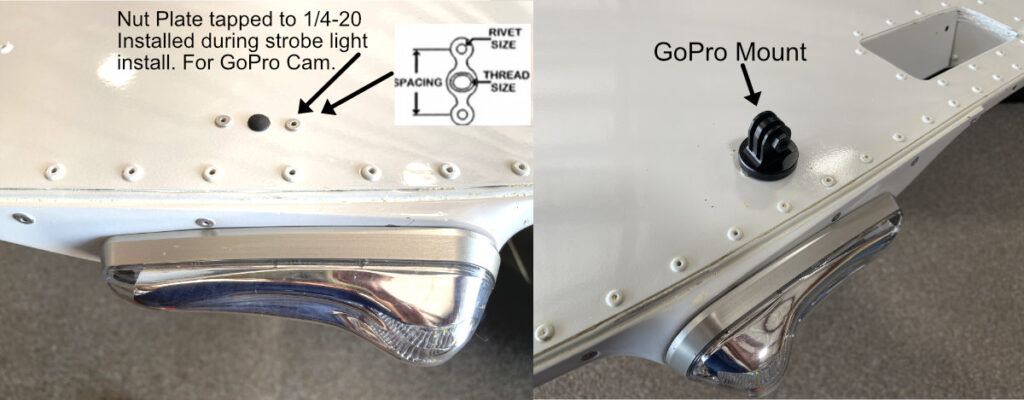
It takes a little time to read and re-read to understand the directions. It will finally become clear. The strobes are part of the “RV-12 LIGHT KIT-SV“, which include Wingtip LED position and strobe lights for both wings tips, the cockpit map light and (1) LED landing light (you can’t put (2) landing lights on a 912ULS, it may overload the electrical system. Our RV-12 didn’t have any lights. I also installed a GroPro mount 1/4-20 nut plate while I had access to the top of the wing area next to the wing handle.

RV-12 strobe light cut out
Posted in Lights | Leave a comment